

The problem: assessing mountain bike fit
You feel comfortable on the cycle path, but keep sliding forwards on climbs. During a descent, the saddle feels obstructive. You grip the bars harder and search for the brake levers. These are different experiences, which do not automatically share the same cause.
Perhaps you transferred your measurements from a road bike. Perhaps this is your first mountain bike with suspension. The bike moves beneath you and the ground demands constant attention. A familiar seated height cannot explain the whole experience.
Even experienced riders notice differences after changing bars, shoes or their usual route. Record where discomfort appears: seated climbing, standing or braking downhill. Include whether you are tired and whether the trail matches your abilities.
A useful first check concerns control access and room to move. You do not need a difficult descent to assess an adjustment. Begin somewhere you can stop calmly and try again.
Background: your position changes with the terrain
On a mountain bike, you alternate between sitting and standing. When seated, the saddle, pedals and hands support your body. Standing removes saddle support. You then need to move without losing access to the brakes.
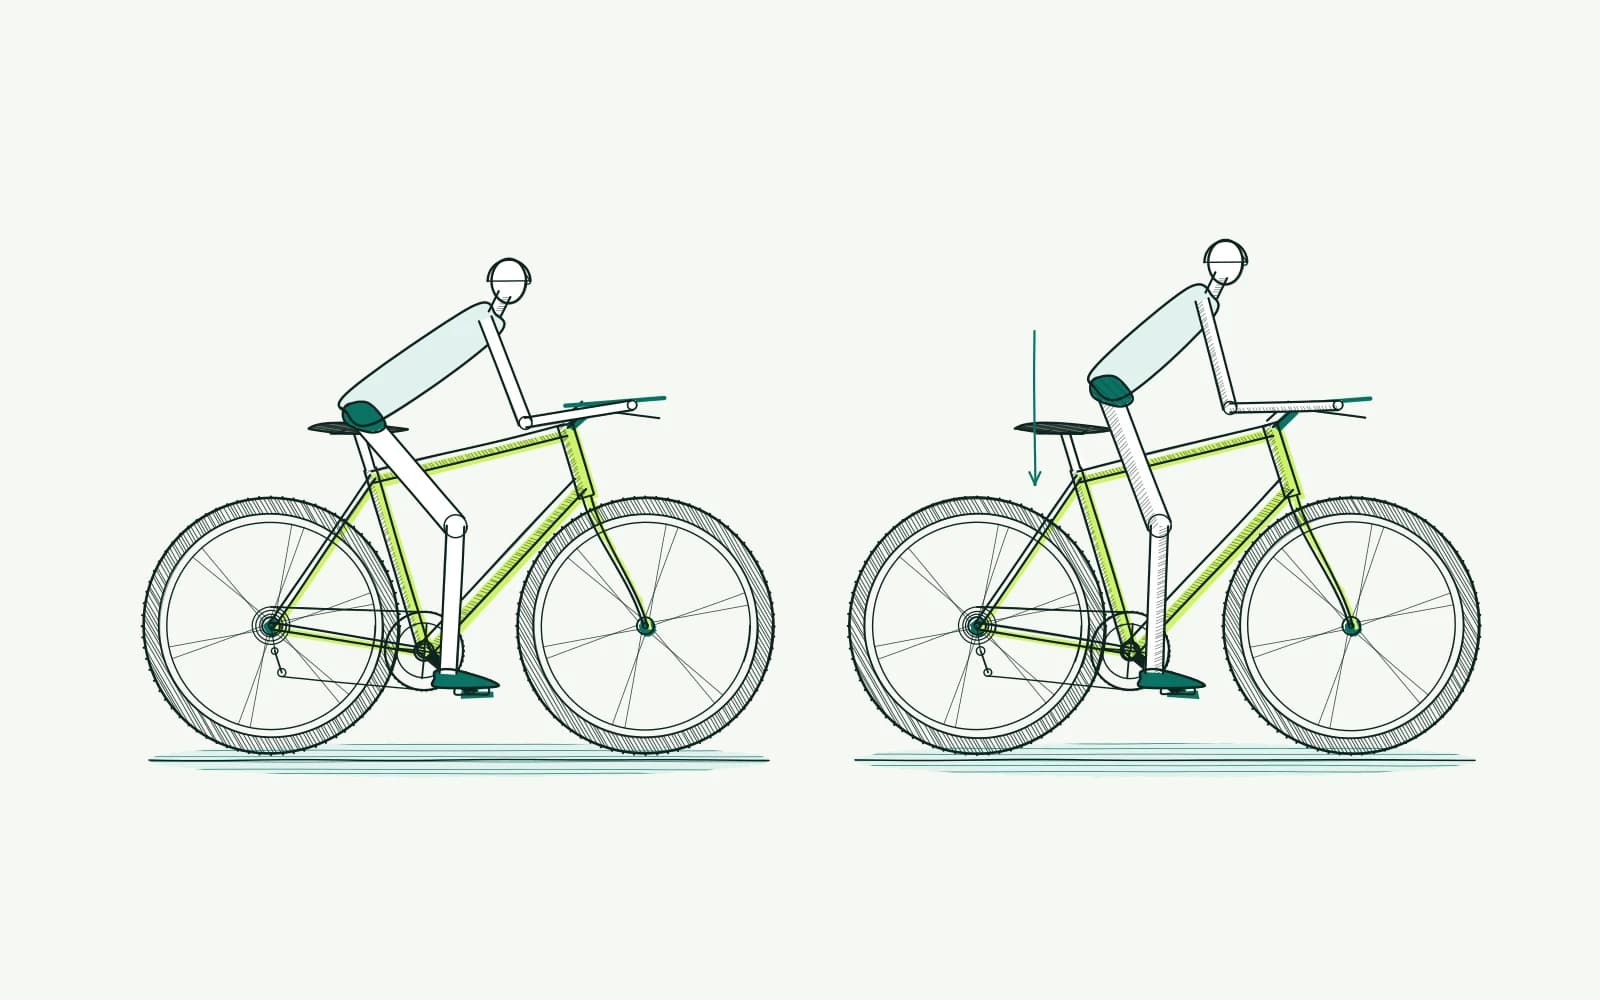
Assess saddle height and clearance above the saddle separately. A comfortable pedalling height can become obstructive on a descent. A dropper post can offer different positions if your bike supports one. However, it cannot make incorrect installation safe.
Bar shape, width and brake levers determine where your hands work. Examine your actual grip, rather than a bar measurement alone. You need to brake from that grip. Holding the bars tightly throughout a descent will not fix a difficult lever reach.
Suspension and tyres also affect how the bike feels on trails. Changing them can disrupt your comparison of riding positions. Use the relevant manufacturer settings as your starting point and record them. This guide does not prescribe universal pressures or suspension settings.
Technique and route choice remain important too. A position that looks convincing in a photograph might prove awkward while braking. Conversely, uncertainty on a difficult trail does not automatically mean your frame is wrong. First choose surroundings where you feel in control.
Online body measurements help establish a starting position. They cannot show how you move over roots or brake on a slope. A fitter can assess your position if uncertainty persists. A mechanic can help with controls and installation; instruction may help with trail skills.
How to approach it with bike fitting
-
Keep the test terrain simple: Choose a familiar trail with clear visibility and space to stop. Begin without technical obstacles. Check brakes, tyres and secure components before comparing your riding position.
Record your usual route, shoes and pedals. Note whether the problem appears while seated or standing. Do not ride a harder section solely to prove that an adjustment works.
-
Measure your seated baseline: Use a tape measure from the bottom bracket to a fixed saddle reference. Also record setback, bar height and hand position. Take a photograph showing your reference points clearly.
If the bike has a dropper post, measure its normal pedalling position and label that clearly. Check permitted insertion depth and installation instructions. Distinguish operating the post from changing its fixed installation height.
-
Check hands and movement: Test brake access while stationary with secure support, then at low speed. Stand briefly on the pedals in a clear area. Check whether you can move without unexpectedly contacting the saddle.
Have the levers adjusted according to their instructions if you cannot reach them properly. Avoid cutting bars as your first experiment. An irreversible modification does not belong in a simple comparison.
-
Choose one small adjustment: If investigating whether your saddle is slightly high, try lowering it by 2–5 mm, for example. Use this only as a cautious trial within its adjustment range. It is not a fixed mountain bike correction or pain treatment.
Keep tyre pressure and suspension unchanged during this comparison. Follow tightening torque requirements and saddle rail and seatpost limits. Ask a mechanic for help if you lack the tools or installation knowledge.
-
Test and recognise your limit: Take two to three easy rides per change while the bike remains comfortable and safe. Compare seated pedalling, gently standing and braking on the same route. Stop if control worsens and restore the recorded safe position.
Stop and seek medical assessment for pain at rest or at night, swelling or radiating tingling. Consult a fitter or doctor if symptoms persist after three to four careful adjustments. Do not keep riding through symptoms just to complete a technical section.
Further reading
- Cycling climb time: plan your effort helps you plan effort so a demanding climb does not dominate your comparison.
- Bike setup measurements: record your position helps you preserve a safe baseline accurately before adjusting components.
- Compare bikes for fit: contact points first explains why matching frame labels do not guarantee matching hand positions.
- Numb toes cycling: pressure and shoe fit helps investigate foot pressure alongside saddle and bar position.
- The bike fit calculator provides initial measurements to check on easy terrain.
Frequently asked questions
Should my mountain bike saddle be lower than my road saddle?
Not automatically. First compare shoes, pedals and the position you use for seated pedalling. The clearance needed for descending is a separate question. A suitable dropper post lets you use different positions without changing the fixed installation height before every ride on the bike.
Should I narrow my bars if my shoulders hurt?
Start with reach, hand position and when symptoms appear. Bar width is only one part of that assessment. Ask a fitter or mechanic to help before cutting anything. You cannot restore a cut handlebar to its original width for a fair second comparison of the positions.
Can I check the complete setup on an indoor trainer?
You can examine seated position and measurement points there. The trainer cannot show how you move or brake on trails. Check those aspects outside on an easy path afterwards. A calm indoor check provides preparation, rather than a complete assessment of control access during a descent.
What should I record if only steep trails feel difficult?
Describe the slope, surface, speed and whether you were seated or standing. Include your experience on similar trails. This gives a fitter or instructor useful information to discuss. Meanwhile, choose an easier route; taking greater risks will not provide better evidence about your bike setup.
This guide covers one part of your riding position. Read how bike fitting connects your measurements and bike setup.
Record your mountain bike position, then check brake access and room to move on an easy trail.
Calculate your bike fit