

The problem: compare bikes for fit
Your current bike feels comfortable, but you want another one. The new model immediately feels different in the shop. Yet both frames carry the same size label. You wonder whether you need familiarisation or whether the bike does not fit.
Perhaps you are comparing two bikes you already own. Your shoulders relax on one, while you keep sliding on the other. Contact points could explain the difference. However, another saddle, handlebar or pair of shoes can also affect the comparison.
A short test ride cannot answer every question. You might ride without luggage, with different pedals or on unfamiliar ground. That means you are comparing more than riding position. Write down the particular difference you want to investigate first.
Use a comfortable existing position as your starting point. If your current position hurts, use it only as a measurement reference. The aim is a useful comparison, rather than an exact copy of an existing problem.
Background: frame dimensions are not contact points
A frame size does not describe where your hands ultimately rest. Stem length, handlebar shape and brake hoods also matter. The saddle has its own shape too. Two saddle noses at identical distances can therefore still feel different.
Stack and reach help you compare frames. They describe the vertical and horizontal distance from the bottom bracket to the top of the head tube. They describe the frame, rather than your complete position. Check the manufacturer's geometry diagram to confirm the reference point used.
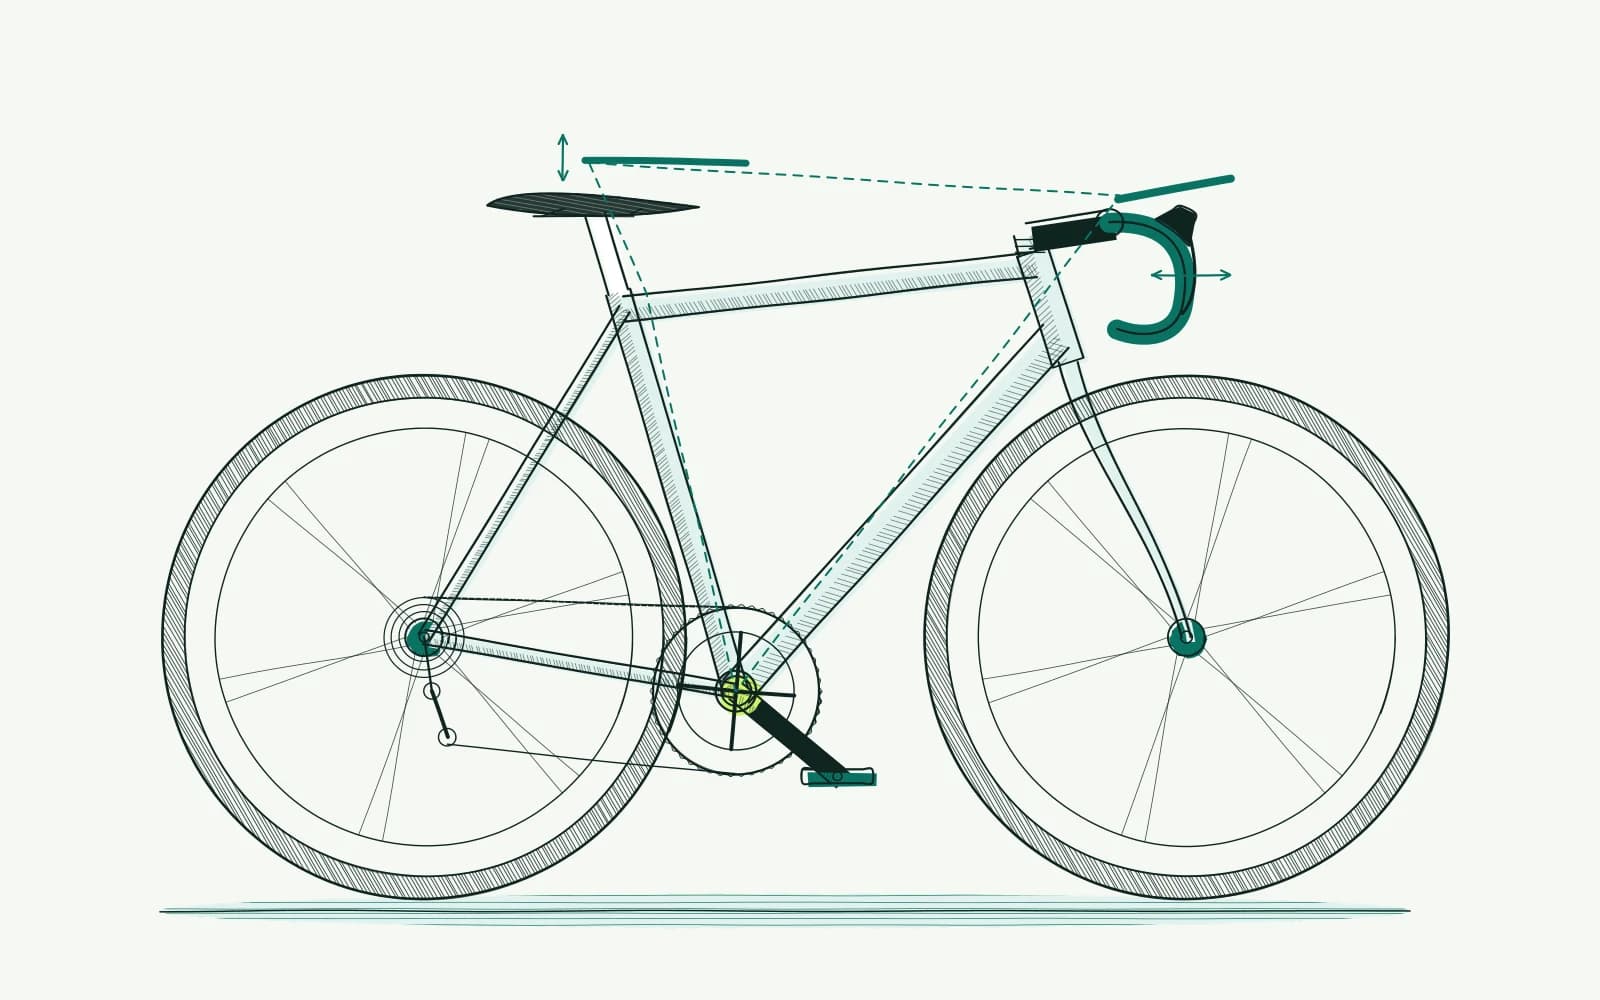
On an assembled bike, also measure your actual support points. Choose a recognisable saddle reference and record it. Measure to the hand position you normally use. That might be the brake hood on a road bike or the grip on a mountain bike.
Saddle height alone does not provide a complete comparison. Record setback, pedal position and crank length too. Different shoes or pedals can change the connection between your foot and the bike. Keep these consistent during testing where possible.
Intended use also determines which similarities matter. A mountain bike needs room for movement on trails. A triathlon bike adds armrests as support points. Identical handlebar heights do not automatically mean equivalent positions on such different bikes.
A table or calculator can reveal differences, but cannot assess handling or pain. Body measurements also cannot tell you how much adjustment a particular component permits. Always check manufacturer information alongside your measurements. If your desired position falls outside the adjustment range, ask a fitter whether another size makes more sense.
How to approach it with bike fitting
-
Define your comparison: Record how you intend to use both bikes and which existing position feels comfortable. Write down when discomfort appears too. Choose a familiar, quiet route where you can brake and turn safely.
Avoid comparing a relaxed commute with a hard training session. Wear the same shoes and use similar clothing and luggage. Ask which components the shop allows you to adjust during a test ride.
-
Measure your baseline: Stand the bike upright on level ground and use a tape measure and spirit level. Record saddle height, setback, and the height and distance of your hand position. Use the bottom bracket as your common reference.
Record the measurement points and take a side photograph. Include crank length, saddle model and pedal type. Measure any surprising difference again before basing a purchase decision on it.
-
Measure the second bike consistently: Use the same surface, tools and reference points. Compare contact points first, then frame dimensions. This helps distinguish frame differences from differences in the assembled components.
A different stem length is not automatically a reason to reject a bike. Check whether permitted components can deliver a suitable position. Ask a mechanic to assess any uncertainty about installation or handling.
-
Change one measurement: Choose an adjustment you can safely make and reverse. For example, lowering the saddle by 2–5 mm could be a small trial step when investigating a slightly lower position. This is not medical advice or a required correction for every rider.
Keep saddle rails, insertion markings and tightening torque within manufacturer limits. Do not move the saddle solely to compensate for distant bars. Have unfamiliar or integrated components adjusted professionally.
-
Compare and decide: After one change, take two to three easy test rides while comfort and control remain good. Record support, brake access and when you start sliding. Stop if things worsen and restore the recorded safe position.
Also stop for pain at rest or at night, swelling or radiating tingling, and seek medical assessment. Consult a fitter or doctor if symptoms persist after three to four careful adjustments. A new bike is no reason to ignore these signs.
Further reading
- Bike setup measurements: record your position helps you describe both bikes using the same recognisable measurement points.
- Road bike fit: your three contact points explains which support points to compare on two road bikes.
- Mountain bike fit: control and movement explains why room to move on trails matters to your choice.
- Triathlon bike fit: support in aero shows why armrests require a separate comparison.
- The bike fit calculator organises your body measurements before you check the actual bikes.
Frequently asked questions
Can I choose the same frame size from another brand?
Use the size label only as a starting point. Compare geometry diagrams and assembled contact points. Then check the adjustment range and take a test ride. Your familiar size name does not prove that the other model can provide the same riding position.
Should I bring the same saddle for a test ride?
That can make the comparison clearer if the shop permits installation and the saddle is compatible. Otherwise, record the different saddle model. Avoid firm conclusions about the frame when the unfamiliar feeling mainly concerns seating support. Also assess whether you can steer safely and comfortably.
Is a side photograph enough to compare two bikes?
A photograph helps you locate reference points, but does not replace measurement. Camera angle and bike position can exaggerate differences. Use photographs alongside your recorded measurements. Also check what happens to brake access, support and freedom to move while you are actually riding the bike.
What if I can only test the second bike briefly?
Limit your conclusion to what you actually checked. Ask about a longer trial or an assessment with a fitter. A pleasant first impression tells you little about a full long ride. Record unanswered questions before deciding, particularly if you already experience discomfort on your current bike.
This guide covers one part of your riding position. Read how bike fitting connects your measurements and bike setup.
Record your baseline measurements, then compare the contact points of both bikes.
Calculate your bike fit