

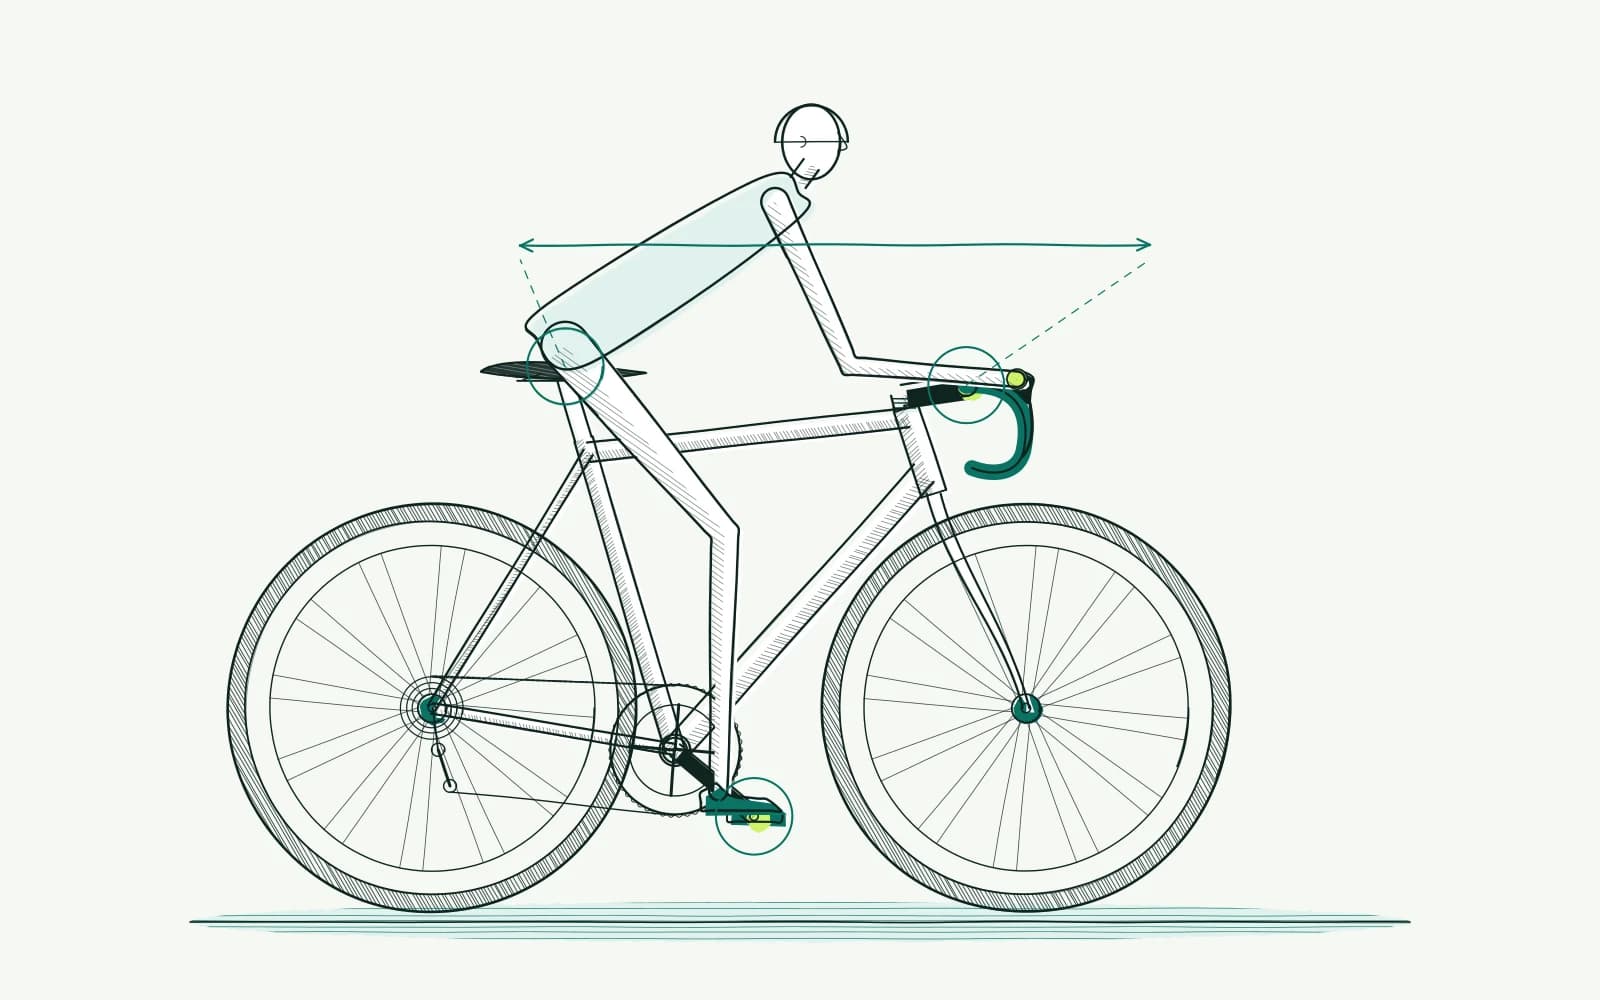
The problem: understanding bike fitting science
A calculator gives a precise saddle height. A video suggests another value and a friend insists on a favourite formula. You wonder which number to believe. An exact answer seems especially attractive when symptoms are involved.
Yet the precision of a number does not tell you how much certainty supports it.
A measurement, a calculation and an experience are different kinds of information. You can measure your inseam. A formula turns that input into a proposal. Whether you ride comfortably afterwards remains to be seen.
Those stages are easily confused when advice displays only one result.
You do not need to become a researcher to handle this better. Start with a clear question and reliable notes. That lets you assess advice without repeatedly resetting the entire bike. This guide gives you a method for making uncertainty visible and manageable.
Background: a number is not a complete explanation
A model simplifies reality. It uses selected input values to produce a useful proposal. That helps when you understand what is excluded. A body measurement, for example, does not describe fatigue during a long ride.
Personal preference and intended riding do not automatically fit into the same formula either.
Measurement error adds another layer. A tape following a different line produces a different result. A photograph from another angle changes what you think you see. Record the method alongside the value.
Repeatable information is more useful than extra decimal places without a reliable measuring method.
Different questions also require different outcomes. Less hand pressure, comfortable pedalling and riding faster are not identical aims. A change may help in one area while creating problems elsewhere. Always consider the saddle, bars and pedals together.
State beforehand what you want to improve and what needs to remain unchanged.
A personal comparison tells you about your experience in those conditions. It does not establish a general rule for every rider. Equally, a general recommendation cannot fully predict your response. That distinction prevents overly strong conclusions from one good ride.
Online tools can organise information and suggest hypotheses. They are not methods of medical examination. A formula cannot explain pain. A fitter assesses movement and setup; a clinician assesses medical symptoms.
Use that expertise when your question extends beyond a simple, safe comparison.
How to approach it with bike fitting
-
Define one question: For example, write that you want to reach the brake hoods without sliding forwards. Avoid a vague goal such as the perfect position. Also record what already works, such as braking, steering or easy pedalling.
That prevents accepting an improvement in one area while an important aspect becomes worse elsewhere.
-
Record the baseline: Use a tape measure, spirit level and fixed reference points on the bike. Record dimensions in millimetres and relevant angles in degrees. Take photographs from the same side and height.
Repeat measurements that disagree. Record your shoes and pedals so a later comparison uses the same starting conditions.
-
Examine the proposal and assumptions: Use the bike fit calculator to organise your inputs and initial result. Check that you selected the right bike type and units. Keep the inputs together with the recommendation.
A different result after changing the inputs is not proof that your body or bike has changed.
-
Choose a limited test: Change one setting at a time and record its direction and size. No universal millimetre step is safe for every component and symptom. Stay within manufacturer limits and ask for guidance where needed.
Keep the original position recorded. Decide when to stop beforehand, such as new pain or worse access to the brakes.
-
Compare calmly and repeatably: Use two to three easy rides per change while you remain symptom-free. Choose similar routes, clothing and effort. Record the expected benefit and unexpected disadvantages alike.
A demanding working day or much harder ride makes interpretation more difficult. Mark that difference rather than leaving it out.
-
Draw a limited conclusion: Record what felt better, unchanged or worse under these conditions. Return to the recorded safe position if things worsen. If pain persists after three to four careful adjustments, consult a fitter and, where appropriate, a clinician.
Seek earlier medical assessment for pain at rest or at night, swelling, radiating tingling or lost sensation. A testing plan never provides a reason to ride through those symptoms.
Further reading
- Crank length shows how a calculated starting point becomes a comparison of components and riding position.
- Cycling sweat rate provides another example where conditions and measurement method determine how a number should be interpreted.
- Bike size and geometry helps separate fixed frame dimensions from adjustable contact points on the complete bike.
- Online bike fit limitations discusses when guidance provides more information than another online calculation.
- The bike fit calculator combines your inputs into a proposal you can then check carefully.
Frequently asked questions
Does a precise result mean the advice is accurate?
Not automatically. A calculation can display an exact number while the inputs and assumptions remain uncertain. Check how you measured and what the model includes. Extra decimal places do not replace better information.
Then assess the proposed position through a calm, repeatable comparison rather than accepting its precision alone.
Is one comfortable ride enough to keep a change?
It provides useful information, but the conditions may contribute. Compare a few more easy rides while you remain symptom-free. Also record disadvantages during braking, steering or another hand position. You do not need to finish a series if new pain appears; stop and reassess the change.
Why can two calculators recommend different positions?
They may use different inputs, assumptions or goals. First check that you entered the same measurements and units. Then compare what the results actually describe. The difference alone does not establish which calculator is correct.
Consult a fitter when you cannot assess the conflicting recommendations safely yourself.
Can an unusual measurement explain a symptom?
A difference can prompt a check, but it does not establish a cause or diagnosis. Tell a fitter or clinician when the symptom develops and what happens away from cycling too. Treat a table value as information for the discussion, not as independent evidence supporting a treatment.
This guide covers one part of your riding position. Read how bike fitting connects your measurements and bike setup.
Make your starting assumptions clear before assessing a change on the bike.
Calculate your bike fit