

The problem: numb toes cycling
Your shoes feel comfortable at home. On the road, a burning sensation develops beneath the forefoot. Your toes tingle or feel less distinct. Loosening the shoe may help briefly, but the problem returns later.
Notice exactly where you feel it. Is the pressure on top, along the outer edge or beneath the ball? Does it start in both feet together? Differences between your feet may matter more than the size printed on the box.
Record when it happens too. Is it linked to warmth, long climbs or harder pedalling? Are you wearing different socks from those used when fitting the shoes? A shoe that feels pleasant when walking need not provide the same support while cycling.
You need not wait until your whole foot becomes numb. Stop loading it when tingling develops and check the pressure. Bike position cannot explain every foot symptom. Include symptoms away from the bike in your notes.
Background: space, pressure and foot support
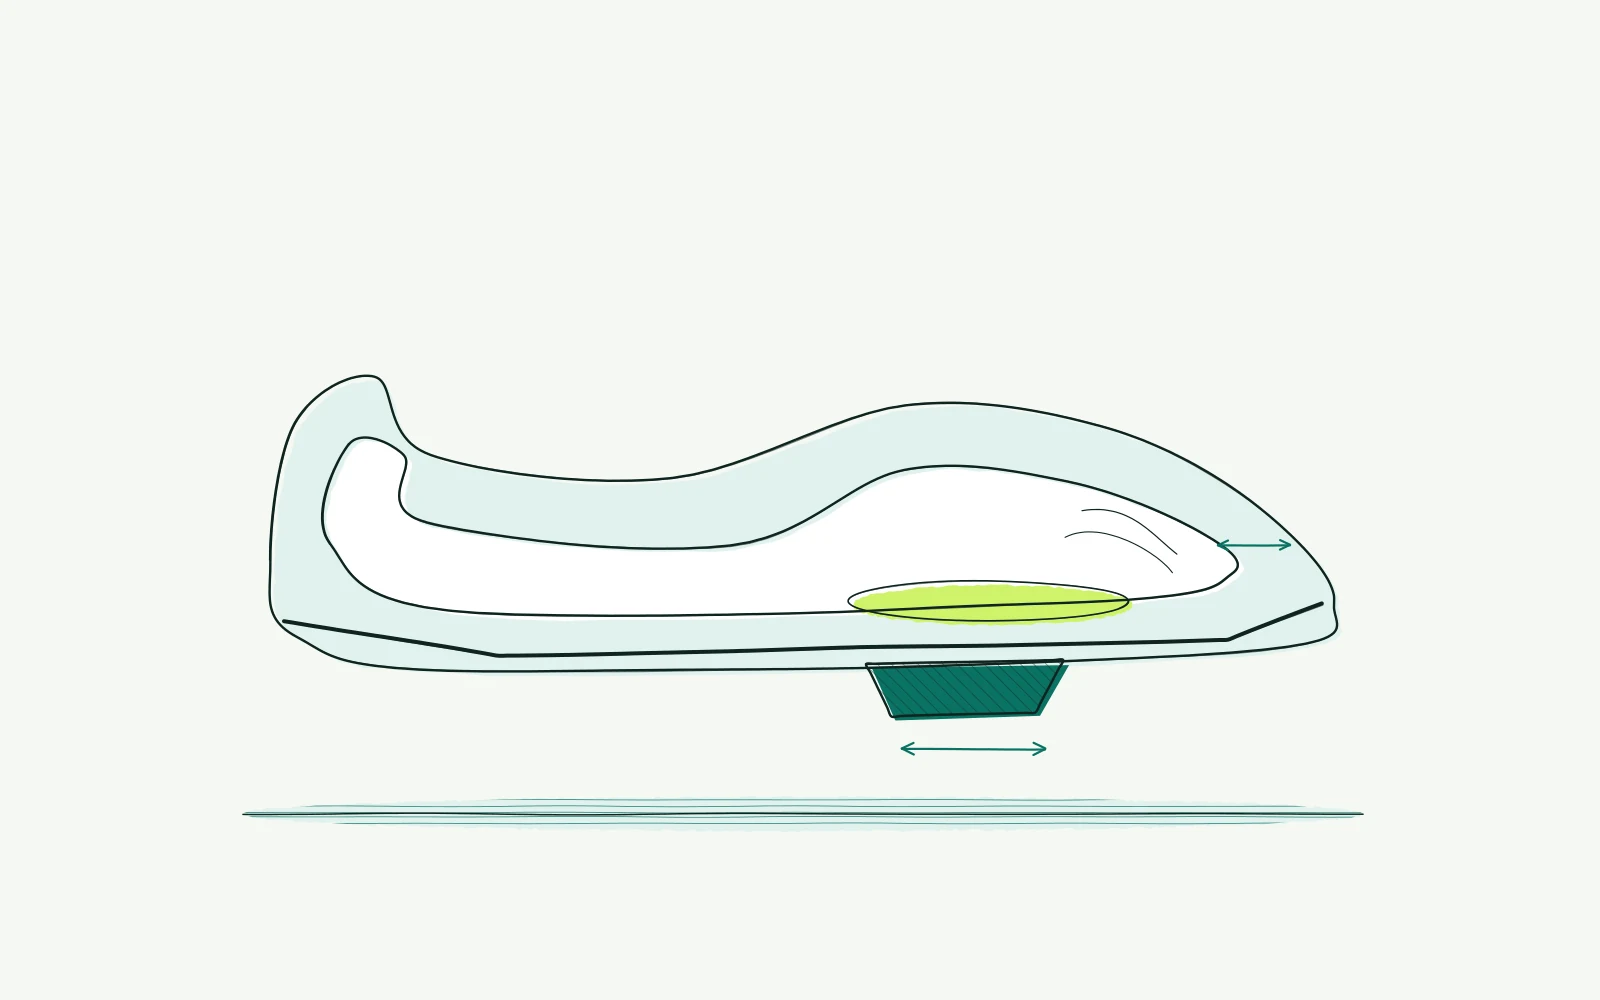
Your foot sits between an insole, an upper and a fairly stiff outer sole. The fastening keeps it in place. Excessive tension can create local pressure. Tightening further therefore cannot automatically correct an unsuitable shoe shape.
Length and width are different measurements. A longer shoe may still be too narrow at the forefoot. Conversely, an oversized shoe may let your foot slide. You might then tighten the fastening harder to compensate for that movement.
Cleats connect the foot to the pedal. Their position changes where support is felt beneath the shoe. Moving them backwards can be a trial for forefoot pressure, but does not prove they caused it. Rotation and available movement also matter.
An insole occupies space. A thicker replacement can therefore create a new pressure spot. Compare changes to the insole, sock and fastening separately. Avoid buying more support immediately when the shoe already feels cramped.
Bike position affects the whole arrangement. Reaching for the pedals may change how you load the foot. However, a burning forefoot does not reliably prove that the saddle is too high. Checking the shoe first avoids unrelated adjustments elsewhere.
An online photograph cannot assess sensation, circulation or nerve function. The pattern of symptoms remains important. The NHS guidance on pins and needles advises medical assessment for recurring or persistent symptoms. Use a calculator for dimensions, not diagnosis.
How to approach it with bike fitting
-
Record your starting point. Photograph both cleats directly from below. Mark their outlines with removable tape.
Note your shoes, socks, insoles and when the problem starts. Record the pressure location for each foot. This makes a later comparison more useful than relying on memory alone.
-
Check shoe space first. Use the socks you normally ride in. Check that the toes have room without the heel lifting freely.
Look for pressure along the forefoot edge. A visible mark is a clue, not a diagnosis. Ask a shop or fitter to compare shoe shapes when uncertain.
-
Reduce unnecessary fastening pressure. Loosen slightly without letting the foot slide. Check for a folded tongue or sock.
Choose a short, easy ride close to home. Stop if numbness returns. Do not continue simply to complete a planned testing duration.
Comfort should not depend on ignoring reduced sensation.
-
Only then consider the cleat. For local forefoot pressure, discuss a small backward trial, for example 2–3 mm. This is a cautious fitting trial, not medical treatment.
Stay within the slots and follow the specified tightening torque. Do not change rotation simultaneously. Get help if you cannot check the attachment safely.
-
Compare one change over 2–3 easy rides. Keep shoes, socks and route reasonably similar. Record whether pressure starts later, reduces or moves elsewhere.
Return to the mark if a new problem appears. Numbness is not a reason to wait several rides before seeking help.
-
Check the wider position. Discuss persistent differences between feet with a fitter. Use the bike fit calculator below only for a first check of your overall position.
Avoid moving the saddle randomly to address shoe pressure. Take your notes and photographs to an assessment.
Warning signs: stop for numbness or increasing pain. Ask a clinician about symptoms at rest, night pain, swelling or radiating tingling. Continuing to guess after 3–4 careful adjustments is unhelpful. Persistent numbness warrants earlier medical assessment; a bike fitter cannot replace that assessment.
Further reading
- Road bike fit: your three contact points explains how shoe, pedal and seated position interact without assigning one symptom to one measurement.
- Bike setup measurements: record your position helps you document a clear baseline before making a change.
- Lower back pain cycling: check your position calmly discusses symptoms that may extend beyond local shoe pressure.
- Bike fit calculator provides a starting position to compare with your measurements, not a diagnosis of foot pain.
Frequently asked questions
Should I buy cycling shoes one size larger?
Not automatically. Compare length, forefoot width and space above the foot first. A larger size may allow sliding while the pressure edge remains.
Take your riding socks when trying shoes. Compare different shoe shapes rather than increasing the size alone.
Can I test without cleats?
That may change the loading, but also changes several variables together. It is not conclusive evidence about the cause. Make sure the shoes and pedals work safely together. Never leave cleat bolts loose as an improvised way of allowing more movement.
Why does loosening help only briefly?
Fastening pressure may contribute while shoe shape or the insole also matters. Temporary relief does not identify the main cause. Record where pressure returns. If tingling continues after stopping, seek medical assessment instead of repeatedly making the shoe looser and continuing the ride.
Must both cleats have identical positions?
Feet do not always share the same shape. Avoid copying millimetres without checking placement. Record each starting position separately. Large differences or persistent symptoms on one side deserve targeted assessment, not an improvised correction using extra washers or an unrelated saddle adjustment.
This guide covers one part of your riding position. Read how bike fitting connects your measurements and bike setup.
Compare your overall riding position with a calculated starting point before making further adjustments.
Open the bike fit calculator