

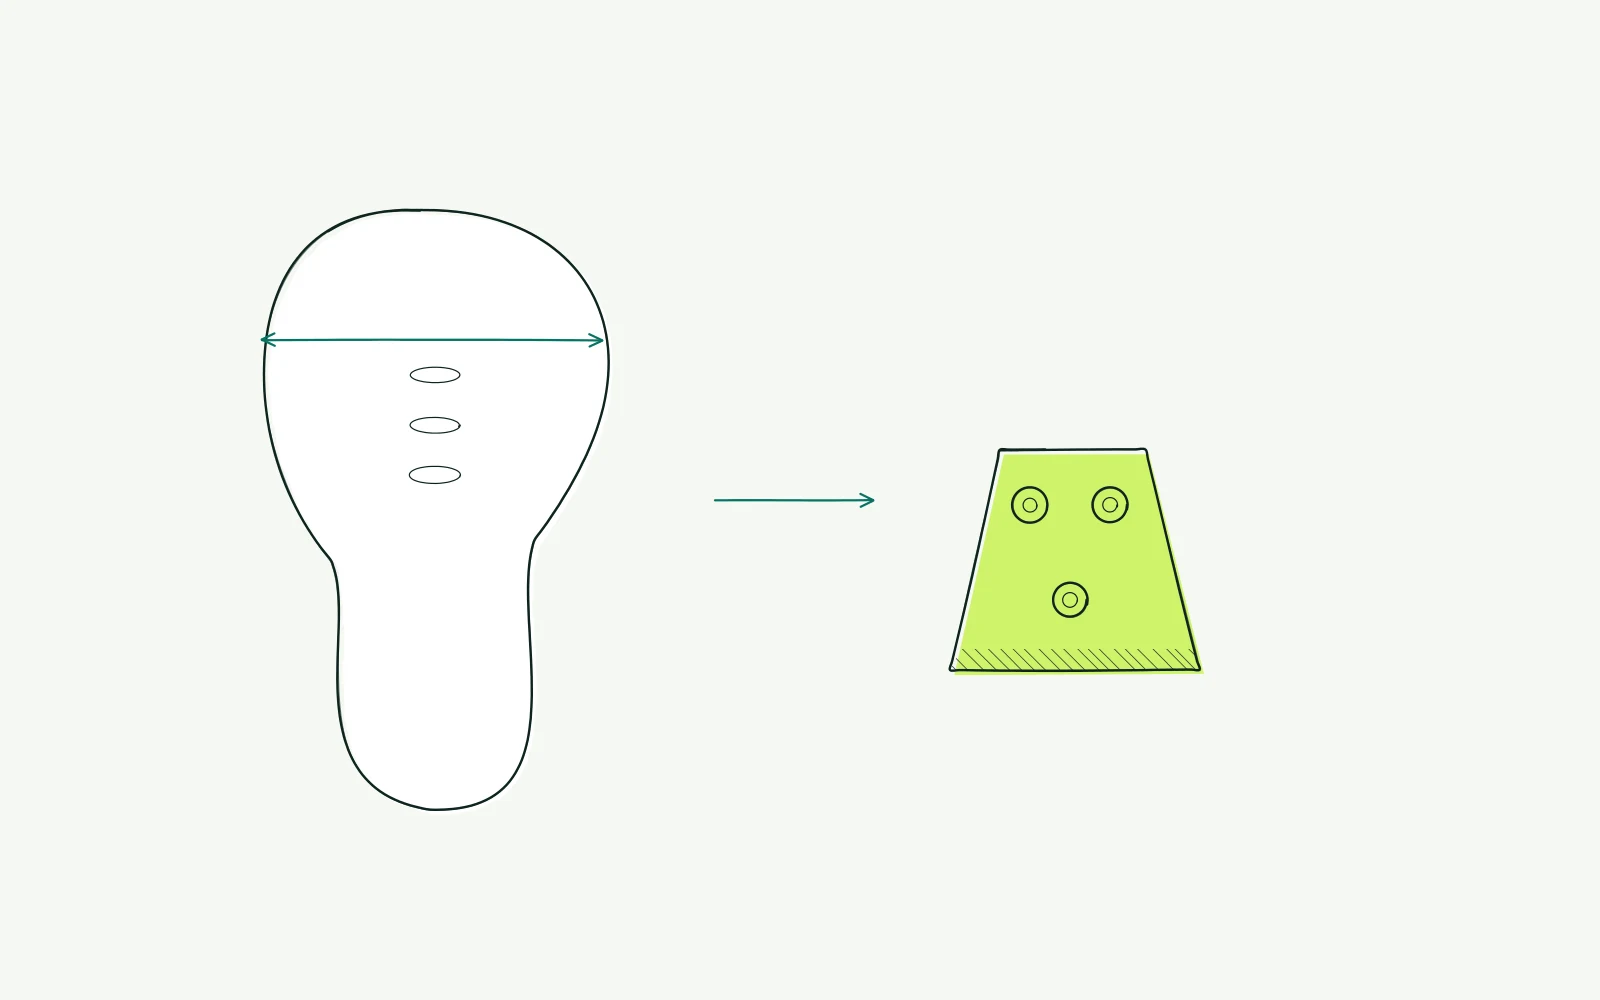
The problem: cycling shoe and cleat fit
Your shoe feels fine at departure, but later you keep wanting to loosen it. Perhaps you feel pressure beside the forefoot, can barely move your toes or feel your foot twisted on the pedal. It is not immediately clear whether the shoe, closure or cleat needs attention.
Those questions often become mixed together. You rotate the cleat because your foot feels uncomfortable, although the shoe itself may be tight. Or you buy a larger size when its shape does not suit your foot. Many things then change without clarifying the original question.
Start with the location and timing of discomfort. Record whether you also notice it while walking or away from cycling. Assess both feet separately and mention new socks, shoes or pedals. That information makes comparisons more focused.
You do not need to try numerous cleat positions before your symptoms deserve attention.
Background: shoe fit differs from pedal connection
A shoe encloses your foot and transfers load. Length, width and the shape around heel and instep determine how that feels together. A closure provides security but cannot make an unsuitable shoe shape fit. Tightening harder is not a general solution for movement inside the shoe.
The cleat connects the sole to the pedal. Fore-and-aft position, rotation and lateral placement are distinct settings. One correction cannot control everything. Record which direction you change and why.
Permitted adjustment differs between shoes, cleats and pedal systems.
Some systems allow limited rotation while pedalling. That movement is different from the adjustment range beneath the shoe. Release mechanisms differ too. Check the instructions for your combination before choosing another position.
Releasing safely remains a necessary condition for every test.
British Cycling discusses foot symptoms on the bike and identifies shoe fit and the pedal connection among the relevant considerations. That does not establish the cause of your symptoms. A photograph or shoe size cannot replace medical assessment.
Insoles, socks and differences between feet also belong in the discussion. Do not change them all together. An online tool can organise measurements and highlight questions. It cannot observe how your foot moves under load.
For persistent symptoms, supervised assessment offers more than repeatedly trying new components. Keep your original equipment details so the discussion has a reliable starting point.
How to approach it with bike fitting
-
Check the shoe first: Wear your normal cycling socks and adjust the closure without forcing it. Record where pressure develops and where room is lacking. Assess left and right separately.
A different length does not automatically solve a width problem. Seek fit advice if you continually choose between tightness and insufficient security.
-
Record measurements and equipment: Measure foot length and width with paper, a ruler and a repeatable standing position. Record millimetres, shoe brand, model, size, insole and pedal system. Use the bike fit calculator for a general starting point alongside the separate shoe assessment.
Keep photographs of the soles and existing cleat positions so later changes can be compared accurately.
-
Mark the starting position: Trace the cleat outline with a removable marking that will not damage the material. Record bolt positions and any measurement marks. Check wear and the correct cleat-pedal combination.
Do not loosen anything uncertain before a mechanic checks the assembly. Incorrect attachment is not a setup question to investigate while riding.
-
Choose one focused change: Discuss whether fore-and-aft position, rotation or lateral placement is the relevant question. Change one direction at a time and record the step in millimetres or degrees. There is no universal rotation angle for every foot.
Follow permitted range and torque from the manual. After every change, check that release remains easy and safe.
-
Test under controlled conditions: Begin clipping in and out somewhere safe with support. Then compare two to three easy rides while symptom-free. Keep shoes, socks and other settings unchanged.
Record pressure points and any new knee or hip symptoms. Stop if things worsen and restore the recorded original position with safe installation.
-
Recognise warning signs: Numbness, weakness or radiating tingling needs assessment; do not ride through it. Seek clinical advice for swelling, pain at rest or at night, or symptoms outside cycling. If ordinary position-related pain persists after three to four careful adjustments, consult a fitter and, where appropriate, a clinician.
Do not wait through that sequence when sensation is reduced.
Further reading
- Crank length discusses changes in the pedal path and why shoes, pedals and saddle position need consideration together.
- Saddle pain cycling: support, pressure and friction helps assess support at another contact point without moving symptoms around the bike.
- Cycling nutrition and hydration helps prepare for longer rides while keeping equipment problems and general preparation as separate questions.
- Bike fitting science explains how to compare a small change repeatably and interpret the result cautiously.
- The bike fit calculator gives a general position starting point alongside separate shoe and cleat checks.
Frequently asked questions
Should I always size up when a shoe causes pressure?
Not automatically. The location of pressure and shoe shape matter. Extra length may add room in the wrong place without making the width suitable. Check fit, socks and closure separately.
Get help if loosening the shoe cannot provide a comfortable, stable fit instead of guessing at a larger size.
Must both cleats sit in exactly the same position?
Symmetry on the sole does not prove that both feet function identically. Equally, an arbitrary difference is not a focused solution. Record both starting positions and assess every change for a clear reason. Seek guidance with differences when you cannot judge their effects on movement or release.
Can I use extra movement to hide pain?
That is not a good reason to change a setting. Movement allowance can belong to a suitable pedal system but cannot explain a symptom. Check shoe fit and installation too. Persistent pain or numbness deserves assessment, rather than repeatedly adding freedom without knowing what problem you are trying to solve.
What if releasing becomes harder after adjustment?
Stop the test and restore a safe, checked setup. Do not ride on public roads to see whether you adapt. Consult the manual and ask a mechanic for help when uncertain. Range, cleat type and attachment must be correct before comparing a new position during a ride.
This guide covers one part of your riding position. Read how bike fitting connects your measurements and bike setup.
Record your body measurements and assess shoes and cleats as separate parts of your position.
Calculate your bike fit