

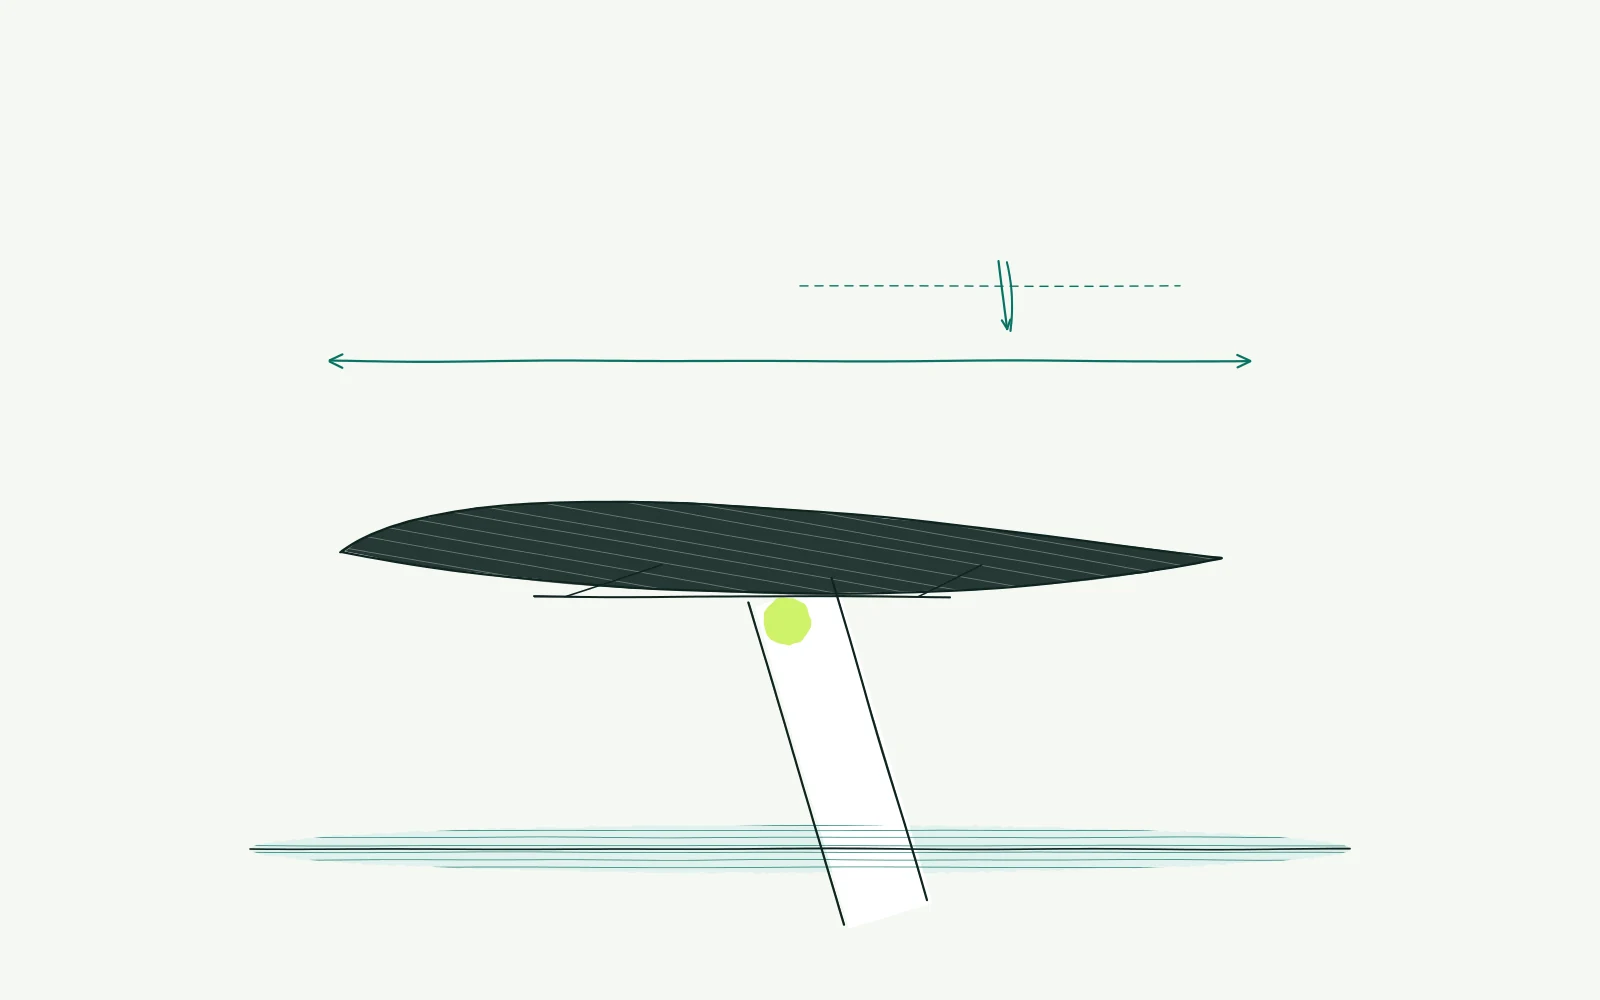
The problem: saddle setback and tilt
You keep moving backwards on the saddle, or towards its nose. Perhaps pressure feels acceptable when upright but uncomfortable on the brake hoods. You want to tilt the saddle and move it forward at the same time. That makes it difficult to identify which adjustment actually helps.
First record where you feel support and pressure. Also note when you begin to slide. Does it happen during hard pedalling, relaxed riding or both? A change in hand pressure may relate to the saddle, but does not establish that saddle tilt is incorrect by itself.
Check that the saddle is mechanically secure. A moving clamp or damaged rail needs technical assessment rather than a different sitting angle. Record the saddle model too. Different shapes have different support surfaces, so an identical measured angle does not necessarily produce the same sensation when you sit down.
Background
Setback describes the saddle's horizontal position relative to a chosen reference near the bottom bracket. Tilt describes the orientation of its surface. Both affect support, but they are not interchangeable solutions. Moving the saddle forward does not automatically resolve a handlebar position that is too distant.
A saddle does not always have a flat top. A raised rear or lowered nose affects the measurement point. Moving your phone to another section produces another angle. Use the same measurement method each time and follow the saddle manufacturer's instructions if they specify a particular reference surface.
Sliding the saddle forward also changes your relationship to the pedals. The effective distance during pedalling may change accordingly. Check saddle height after a horizontal adjustment, but do not immediately alter several dimensions. Record what actually changed before deciding whether a second adjustment is necessary.
A strongly downward angle may make sitting less stable. Your hands may then need to provide more support. However, making a saddle flatter does not solve every shape or rider's needs. Pressure can also involve width, clothing, posture or the way the pelvis moves during pedalling.
A photograph or calculator cannot fully assess sensation and tissue loading. Use online advice to organise measurements. A fitter can observe movement and compare support shapes. Numbness is not something you should try to overcome by remaining seated longer, or by repeatedly making adjustments without understanding their effects.
How to approach it
-
Stand the bike upright and securely on a level floor. Take a side photograph and mark the existing rail position with removable tape. Record saddle height, measurement point and saddle model.
Check the scale and clamping limits on the rails. Keep these details before loosening any bolt or attempting a different angle.
-
Measure tilt consistently. Place a straight edge on the specified saddle surface and use a spirit level or angle gauge. Check its zero setting on the same floor.
Record exactly where the straight edge rests. A rounded nose is not a reliable substitute if your chosen method uses another contact surface.
-
Choose either setback or tilt first. A horizontal trial of 3 mm or an angle change of about 1 degree provides a small practical comparison. These are not personal target settings.
Stay within rail markings and installation instructions. Use a torque wrench where the manufacturer specifies tightening torque, or ask a mechanic to help.
After tightening, measure setback and tilt again using the same reference points. Compare both with your notes from before the adjustment. If the other setting also changed, restore it before starting your trial ride.
-
Before leaving, confirm that the saddle is secure and that mounting and dismounting remain safe. Sit normally and hold the brake hoods. Check that you do not immediately slide forward.
Assess whether pedalling still feels comfortable. Do not respond to a worse starting position by stacking further adjustments during the ride.
-
Compare two or three easy rides using the same clothing and similar duration. Record pressure, sliding and hand support. Restore the previous setting if things worsen.
Keep a change only when the overall position improves, rather than when one pressure point briefly disappears. Consider another measurement only after reviewing that result.
-
Stop for numbness, sharp pain or increasing pressure that does not resolve when unloaded. Seek medical assessment for pain at rest, night pain, swelling or radiating tingling. If symptoms recur after three or four careful adjustments, have the position and saddle assessed. Bring your measurements and avoid endlessly tilting the saddle further.
Further reading
Handlebar drop: find your bar height investigates the bars after you have established stable support on the saddle.
Indoor trainer bike fit explains why you check the orientation of the whole bike before comparing saddle angles.
Cycling pain: choose your first step helps describe symptoms and identify warning signs that deserve personal attention.
The bike fit calculator provides a starting point for your measurements without promising an individual diagnosis or an ideal saddle angle.
Frequently asked questions
Should every saddle be exactly level?
That partly depends on the design and its prescribed measurement method. A raised rear measures differently from a flat model. Start with the manufacturer's instructions and record your reference. Measuring a curved surface at an arbitrary point does not produce a universally comparable angle for all saddles.
Is knee over pedal spindle a fixed setback rule?
Do not use that check as the only decision rule. Posture and movement are more complex than a single plumb line. The method can describe a position but cannot independently establish comfort. Consider support, reach and pedalling together, while keeping each adjustment separately measurable and reversible.
Why do my hands feel more loaded after tilting?
Changing saddle angle may alter support and the tendency to slide. Your hands may then do more supporting work. Restore your recorded starting point if the result is clearly worse. Investigate saddle and handlebars together instead of repeatedly lowering the nose in search of relief.
Can I adjust several times during a long ride?
Stop whenever a position feels unsafe or painful. For a useful comparison, separate trials on easy rides work better. Fatigue and multiple changes make effects difficult to interpret. Record what changed and return to your baseline if you cannot identify a clear improvement from the adjustment.
This guide covers one part of your riding position. Read how bike fitting connects your measurements and bike setup.
Record your starting position before making further saddle changes.
Check my bike fit