

The problem: indoor trainer bike fit
You ride comfortably outdoors but start sliding around inside. Your hands carry more weight or the saddle feels tilted differently. Perhaps symptoms mainly appear during long uninterrupted intervals. This does not immediately mean that every setting on the bike needs to change for indoor training.
First review what changes when you bring the bike indoors. Is the front wheel on a block? Has the rear wheel been replaced by a trainer?
Where is the screen, and do you keep looking upward or sideways? You can investigate these differences without immediately loosening a bolt.
Record session intensity and duration as well. A fixed indoor session can involve more continuous sitting than the same time outdoors. Reduced movement, heat and effort then accumulate together. Recording those factors separately helps prevent every change in comfort being attributed automatically to the saddle or handlebars.
Background
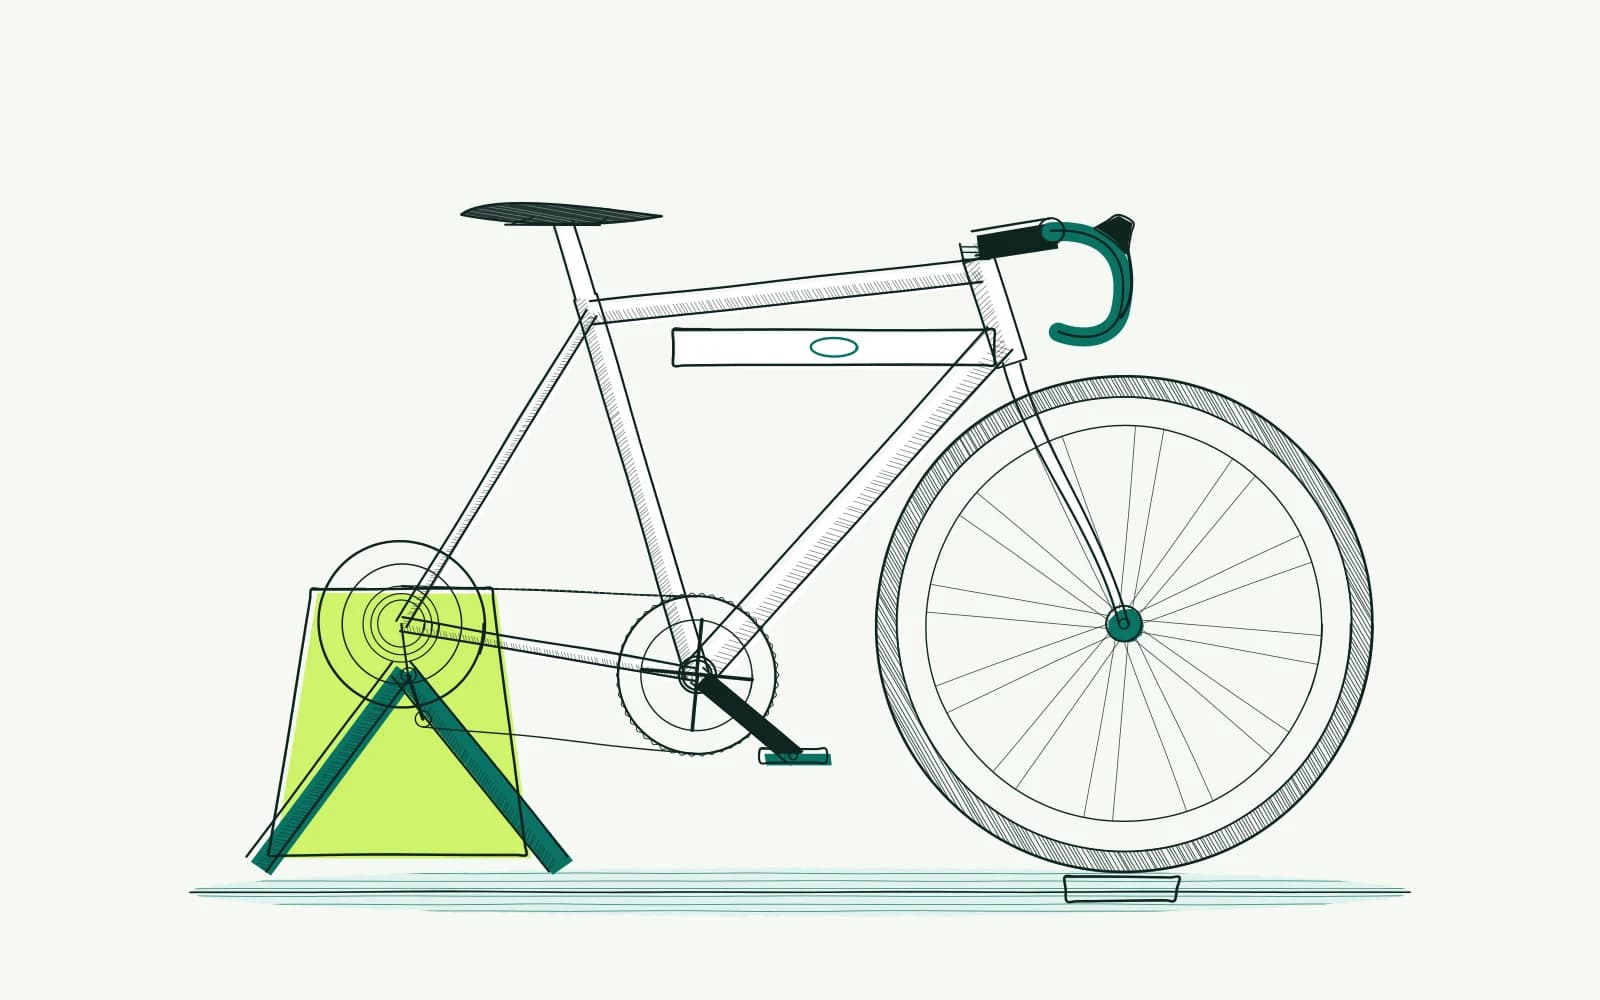
The bike's orientation relative to the floor affects saddle angle relative to gravity. Changing front or rear height rotates the whole setup. Adjusting the saddle again may hide that difference without checking the trainer arrangement itself. Compare the support points before deciding that the saddle clamp needs attention.
Correct support depends on your trainer and bicycle. Some systems use a front-wheel riser; others specify a different starting arrangement. Follow the instructions for your combination. A spirit level on an arbitrary top tube cannot establish correct setup, because bicycle top tubes are not all designed to be horizontal.
Many small movements from outdoor riding are absent indoors. Cornering, coasting, standing briefly and shifting on the saddle may happen less often. The same contact points can remain loaded for longer. First allow normal position changes instead of deliberately holding an uncomfortable posture for increasing periods of time.
Your view matters as well. A high screen may pull your head upward. A screen far to one side requires repeated turning.
Place the information you actually need where you can look comfortably. You do not need to watch every graph continuously to perform a useful training session.
Cooling and drinking are separate considerations. A fan does not change saddle geometry, but can alter how the session feels. The nutrition tool provides a general starting point rather than a personal sweat measurement. Do not treat a wet jersey or perceived warmth as an exact calculation of sodium requirements.
How to approach it
-
Check the trainer instructions and bicycle attachment. Inspect axle adapters, clamps and permitted supports. Confirm that the bike is stable and components cannot contact the trainer.
Stop if there is movement or uncertain installation. Ask a mechanic for help before attempting hard efforts on a setup whose attachment you do not understand.
-
Compare orientation with outdoor use. On a level floor, measure recognisable wheel or axle points according to the trainer instructions. Record the front-wheel support used.
Photograph both arrangements from the side. Do not immediately change saddle tilt if the whole bike sits differently; correct inappropriate support before altering individual contact points.
-
Arrange your view and cooling. Put the screen ahead without forcing your neck into an uncomfortable position. Ensure drinks are safely reachable and cables cannot obstruct movement.
Choose a fan setting you can repeat in later tests. Keep the room arrangement consistent throughout your comparison so changes remain easier to interpret.
-
Try an easy ride before attempting the complete interval session. Change hand position where safe and unload the saddle occasionally. Record when pressure begins.
Do not compare a short relaxed outdoor ride with a long maximal indoor session. Start with similar effort to obtain a clearer comparison of the two positions.
-
If one contact point remains difficult, test one small adjustment. A 3 mm saddle movement is a reversible experiment, not a standard prescription. Preserve the outdoor setting carefully.
Compare two or three easy rides and revert if things worsen. Avoid changing saddle position, trainer height and training duration at the same time.
-
Plan food and drink around duration, conditions and tolerance. Keep this separate from your fitting trial. Stop for numbness, sharp pain or feeling unwell.
Pain at rest, night pain, swelling or radiating tingling calls for medical assessment. Have symptoms persisting after three or four careful adjustments reviewed by a fitter or clinician.
Further reading
Saddle setback and tilt adjustment helps keep a saddle trial measurable after the trainer arrangement is correct.
Handlebar drop: find your bar height explains how to compare saddle and handlebar heights using consistent reference points.
Cycling fueling basics: build a practical plan helps organise reachable food and drink for a planned training session.
Use the fuel and hydration calculator as a starting point for your session duration, rather than as a personal measurement of sweat loss.
Frequently asked questions
Do I need a different saddle setting indoors?
Not automatically. Check bicycle orientation, trainer attachment and differences in workload first. If everything feels comfortable outdoors, preserve that useful baseline. Make a separate small trial when needed, but avoid losing the outdoor setting because you changed several components without recording their original measurements.
Should the front wheel always sit on a block?
That depends on the trainer and its prescribed arrangement. Use the instructions for your model and bicycle. An arbitrary block can tilt the entire bike differently. Check not only whether the wheel feels secure but also whether its support matches the specified installation for the trainer.
Why does the same saddle feel harder indoors?
You may sit continuously for longer and change position less often. Effort and heat may differ too. These factors do not explain every symptom, but provide useful comparisons to investigate first. Persistent pressure or numbness is not a reason to simply remain seated for longer.
Can I test a fit adjustment on an indoor ride?
Yes, if the arrangement is safe and repeatable and the effort remains easy. Record trainer height, screen position and settings. Check a successful change outdoors later as well. Steering control and movement on the road are not fully reproduced by a stationary bicycle inside a room.
This guide covers one part of your riding position. Read how bike fitting connects your measurements and bike setup.
Plan food and drink for your indoor session alongside a comfortable position.
Calculate fuel and hydration