

The problem: bike fit and body proportions
A friend is the same height, rides the same frame size and feels comfortable on the bike. You copy their saddle setting but keep searching for a workable position. Perhaps the handlebar feels distant while the space for your legs seems usable. Or you can adopt a sporty posture briefly but repeatedly settle somewhere else during the ride.
A personal rider profile sounds appealing in that situation. Yet a new label can cause the same confusion as a generic size chart. Tall, short, flexible or recreational does not automatically identify the setup you need. A profile becomes useful only when you know which observations and measurements support it.
This guide therefore concerns gathering useful information rather than classifying bodies. Record how you were measured, what you want to do with the bike and where you currently struggle. That makes a proposal easier to assess and helps explain why a position does or does not suit you.
Background: measurements, abilities and goals are different information
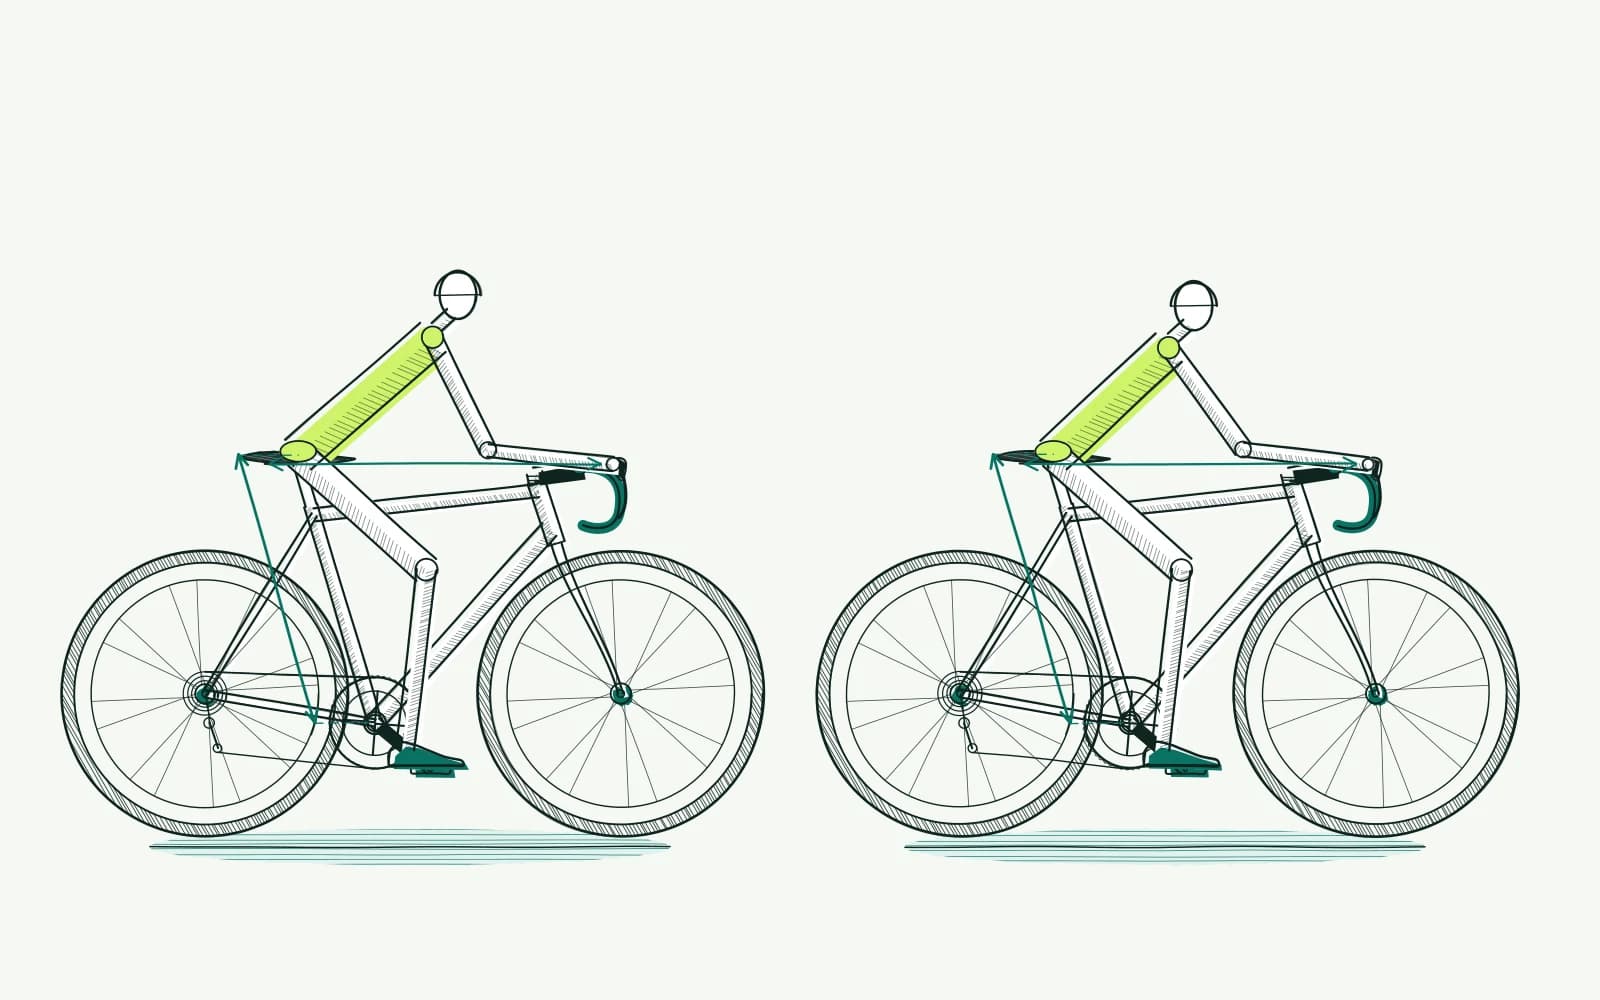
Body height is one measurement. Inseam, torso and arms describe other parts of the distance between saddle, pedals and handlebar. Two people of the same height therefore need not occupy the space between those contact points in the same way. Use an individual measurement to begin a comparison, not to describe someone as abnormal.
A body measurement and a movement ability are not identical either. A tape measure cannot describe how a position feels while pedalling. A separate bending test cannot show how you brake on an uneven road. Avoid combining those details into a label that appears more certain than the individual checks allow.
Riding goals provide another layer. You may use the same bike for errands, touring and a fast group ride. The position you want to assess partly depends on the hand positions and tasks you actually use. That is a reason to write down the purpose of a setup rather than automatically pursuing the lowest possible posture.
Equipment also belongs in the picture. Different shoes, pedals or a different saddle change the conditions of a comparison. Include those details when transferring measurements from a previous bike. A different result can come from another reference point without your body having changed at all.
Online information can organise this overview. It cannot establish why you have pain or how you move when tired. Use a fitter for an individual assessment on the bike and a clinician for medical symptoms. A useful profile keeps uncertainty visible so you know which question remains unanswered.
How to approach it with bike fitting
-
Write down your current riding: Identify the bike, usual rides and hand positions you need. Choose one concrete aim, such as remaining at the hoods without sliding during an easy outing. Also record what already feels comfortable. You do not want to lose workable pedalling simply to imitate a different posture in a photograph.
-
Use a consistent measuring method: Take a tape measure and follow the instructions in the bike fit calculator. Record the units and ask someone to help if your position makes readings difficult. Repeat an uncertain measurement before calculating anything.
Keep the reference points you used. That makes a later check more valuable than a collection of precise numbers with no known origin.
-
Map your current bike: Measure saddle height and relevant handlebar distances in millimetres from consistent points. Use a side photograph to record where you normally sit and where your hands rest. Note your shoes, pedals and saddle. Keep body and bike measurements separate so moving a component does not accidentally become a new measurement of your body.
-
Turn one difference into a question: For example, ask whether the hoods are reachable from a stable seated position. A calculator proposal begins that comparison; it does not judge your body.
With suitable guidance, choose one adjustable component. Record the direction and measurement; there is no universal millimetre step for a particular body type here. Respect installation limits and ask a mechanic to handle unfamiliar attachments.
-
Compare without adding different goals: Ride two to three easy outings per change while you remain symptom-free. Use similar routes and record whether the original question is better answered. Watch braking, steering and unexpected pressure points too. Return to the recorded safe position if things worsen instead of redefining the goal after the event.
-
Update the information, not the label: Record what worked, what did not and what remains uncertain. Stop for lost sensation, radiating tingling or reduced control of the bike.
Pain at rest or at night and swelling need medical assessment. If pain remains after three to four careful adjustments, consult a fitter and, where appropriate, a clinician. Your body proportions are not an explanation that requires you to accept those warning signs.
Further reading
- Bike fit for a short torso shows how to investigate one body proportion without immediately choosing another frame size.
- Bike frame size helps separate fixed geometry from the contact points you can adjust on an assembled bike.
- Bike fit for beginners provides a practical first sequence when measurement and comparison are still unfamiliar.
- Saddle height develops one concrete body measurement and its subsequent check on the bike.
- The bike fit calculator turns your own inputs into a proposal you can assess alongside this personal overview.
Frequently asked questions
Does my personal setup change whenever my weight changes?
Not automatically according to one fixed rule. Record what changed and whether similar rides now feel different. Check clothing and equipment before moving every contact point as well. A number on the scales does not independently prescribe a new saddle height or handlebar distance; discuss a concrete change in your posture or comfort instead.
Can I use a professional rider's position as an example?
You can observe which hand positions exist, but do not copy measurements as a personal prescription. You do not fully know the measurement method, equipment or purpose behind that setup. Use your own brake access and pedalling as checks. An attractive position in a photograph does not establish suitability for your rides.
Should a profile determine my setup from age and gender too?
For a practical initial check, your own measurements, goals and experience matter more than an automatic setup category. Share relevant personal information with a professional when it is needed for assessment. Do not assume that a category independently supplies a stem length, saddle height or explanation for symptoms you experience while riding.
How often should I take my body measurements again?
Measure again when you doubt the inputs or want to investigate a relevant change. Use the same method and compare the circumstances before drawing conclusions. You do not need to keep altering a comfortable, safe position because you have taken another measurement. Preserve earlier information too, so any differences remain understandable.
This guide covers one part of your riding position. Read how bike fitting connects your measurements and bike setup.
Build a personal starting point with your own measurements and a clear aim for your next ride.
Calculate your bike fit