

The problem: cycling shoe width
Your toes do not reach the front, but the shoe presses along your forefoot. Or you choose a roomier size and then notice your heel moving. Sometimes only the upper feels restrictive, while there seems to be enough space beside the foot. The size number tells only part of the story.
You may not notice this immediately when trying shoes on. During a longer ride, you want to loosen the closure. Thicker socks change how the same shoe feels. Switching insoles may instead create more pressure over the instep.
Write down where you lack space and where your foot moves. Assess left and right separately. Record the socks, insole and closure setting as well. This makes comparisons between models much clearer.
You are not simply looking for the widest shoe. You need a shape that holds your foot without squeezing it locally. Address that question before moving your cleats.
Background: length, last shape and internal space differ
A last is the shape around which a shoe is made. Two models bearing the same size number can therefore feel different. Length describes space along the shoe, but does not automatically describe the shape around the forefoot, heel or instep.
Shimano's shoe fitting guidance explains that width and internal volume should be assessed alongside length. A wider version can therefore solve a different problem from a longer shoe. This is a reason to compare shapes, not a guarantee that one label will fit your foot.
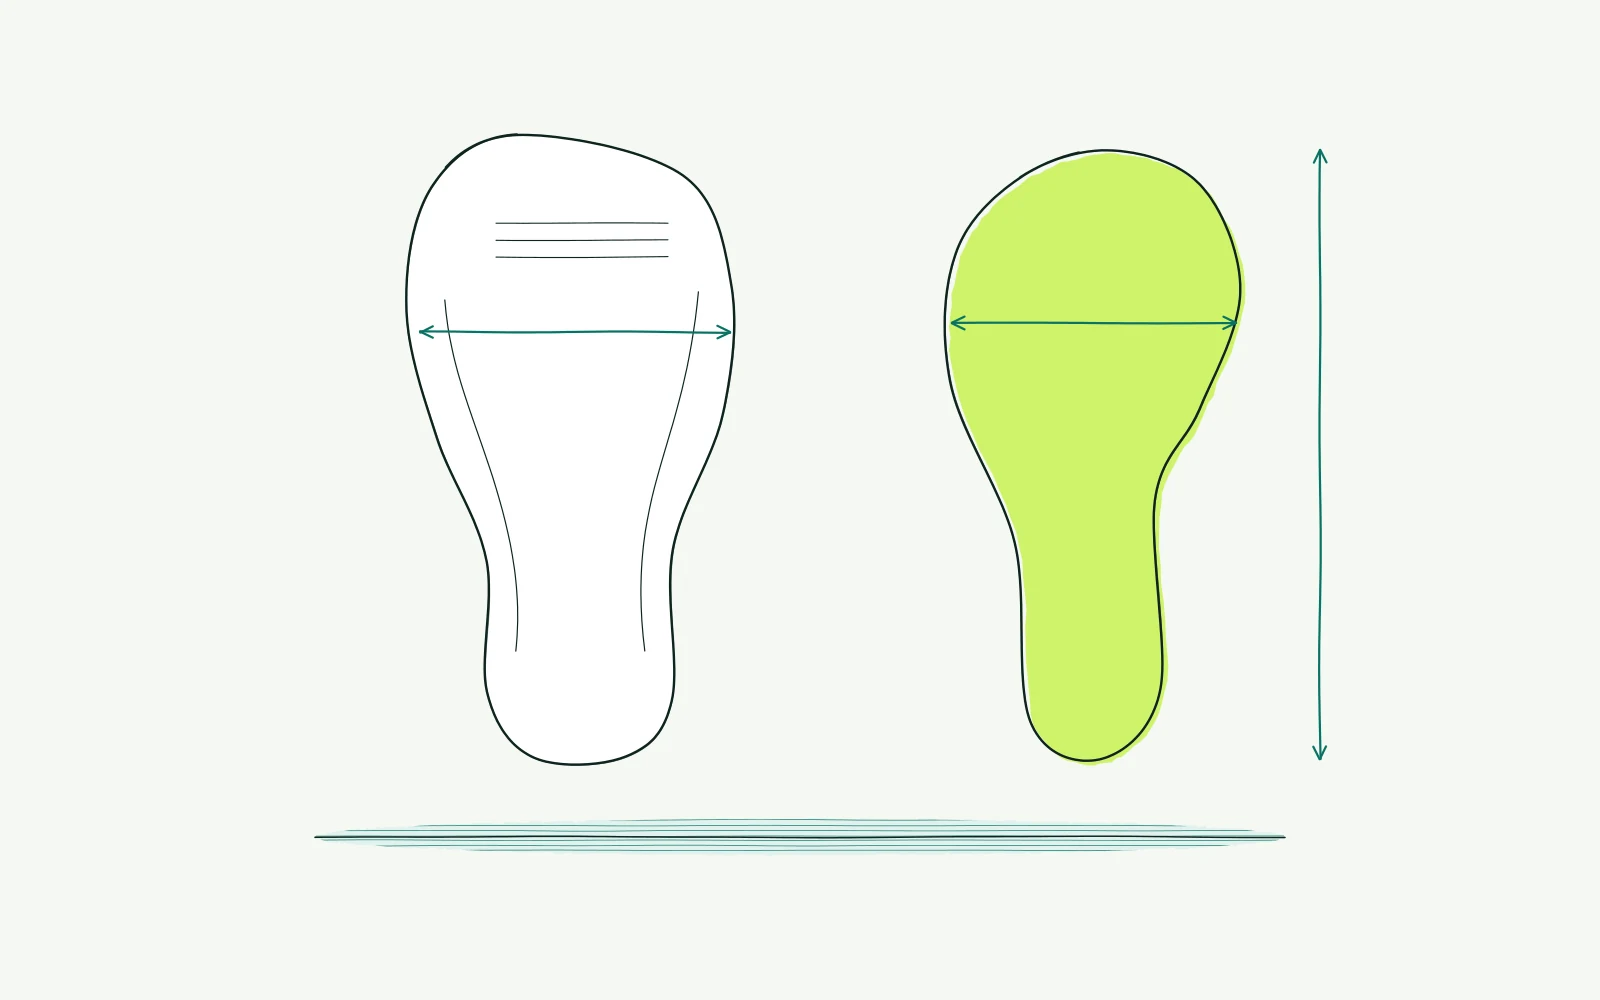
Tracing your foot on paper gives useful information, but not a complete fit assessment. The outline does not show how much space you need above the foot, for example. Seams and closures can also sit in different places. Alongside your measurements, record where you actually feel pressure.
An insole is another part of the available space. Adding a thicker one changes more than what sits underneath your foot. It also changes where the foot sits inside the shoe. An insole is therefore not an independent solution for every pressure point.
A cleat changes the connection to the pedal, not the internal shape of the shoe. Adjusting cleats first makes little sense when the shoe already pinches before clipping in. Conversely, a good shoe fit can coexist with an uncomfortable pedal position.
Online tools can compare measurements and prepare questions. They cannot reliably feel where a shoe presses under load. A fitting appointment helps when length, width and security never seem satisfactory together.
How to approach it with bike fitting
-
Describe the problem before buying.
Record the precise location: little toe, ball of the foot, heel or instep. Note when it begins. Compare walking and other shoes.
Pain away from cycling deserves a broader assessment than simply trying another bicycle model or shoe size.
-
Measure both feet in millimetres.
Use paper, a pencil and a ruler. Follow the measurement method of the brand you want to compare. Record foot length and the widest part of the forefoot.
Repeat in the same stance. An accidental difference between two drawings is not yet a difference between your feet.
-
Compare shapes before closures.
Bring your usual cycling socks and insoles to a fitting appointment. Where available, compare different last widths at a suitable length.
Check that your toes can rest naturally and your heel stays sufficiently secure. Avoid a universal millimetre rule for toe space when the brand provides its own fitting guidance.
-
Change one component at a time.
Compare another shoe without simultaneously adding a new insole or thicker socks. Record the model, size and width label.
Tighten the closure only enough to hold the shoe securely. More tension is not a useful test when it immediately creates a pressure point.
-
Check the pedal connection again.
Mounting points and markings may differ with other shoes. Do not copy the old cleat position blindly. Have installation checked and practise safe engagement and release.
The bike fit calculator offers a general starting point for your riding position, but cannot select a suitable shoe last.
-
Compare in easy conditions.
Test a safe, suitable combination over two to three easy rides. Keep other adjustments unchanged and note when discomfort begins.
Stop if the shoe pinches or you lose sensation. Return to the previous comfortable combination rather than trying to make pain part of the adjustment process.
Warning signs: numbness and spreading tingling are reasons not to keep riding. Have swelling or pain at rest or at night medically assessed. Seek a fitter and medical advice where appropriate if pain remains after three to four careful adjustments. A foot that already hurts away from cycling does not need that whole sequence first.
Further reading
-
Cleat position helps check the pedal connection after you have established whether the shoe itself fits.
-
Cycling shoe insoles: support without pressure explains how another insole changes the space available inside your shoe.
-
Pedal stance width separates the distance between your feet from the width of each shoe.
-
Knee pain when cycling: what can you check? helps describe symptoms carefully during an equipment change.
-
Use the bike fit calculator to record your overall position, not to determine shoe size.
Frequently asked questions
Does a wide foot always need a wide shoe?
The width label is only a starting point. Consider where that width sits, as well as the instep and heel. Compare a specific model with your foot and normal insole. A wide version that is too roomy elsewhere is not automatically the best choice.
Can I directly use my everyday shoe size?
Use that size only to start trying shoes. Brands and models use different shapes and size charts. Measure both feet according to the manufacturer's instructions. Then assess the whole shoe, rather than only how much space remains ahead of your longest toe.
Is standing beyond the insole a reliable fit test?
It can prompt a closer look, but does not establish fit. A loose insole cannot show the space above your foot or the shape of the upper. Combine the comparison with actually trying the shoe, and seek assessment when local pressure remains uncertain.
Should a tight cycling shoe be broken in first?
Do not use pain or numbness as a break-in test. Check closure tension and fit before riding further. Ask the manufacturer or retailer what to expect from the material. Do not keep riding in the hope that missing space will simply appear.
This guide covers one part of your riding position. Read how bike fitting connects your measurements and bike setup.
Record your riding position and take your separate foot measurements when comparing cycling shoes.
Start your free bike fit