

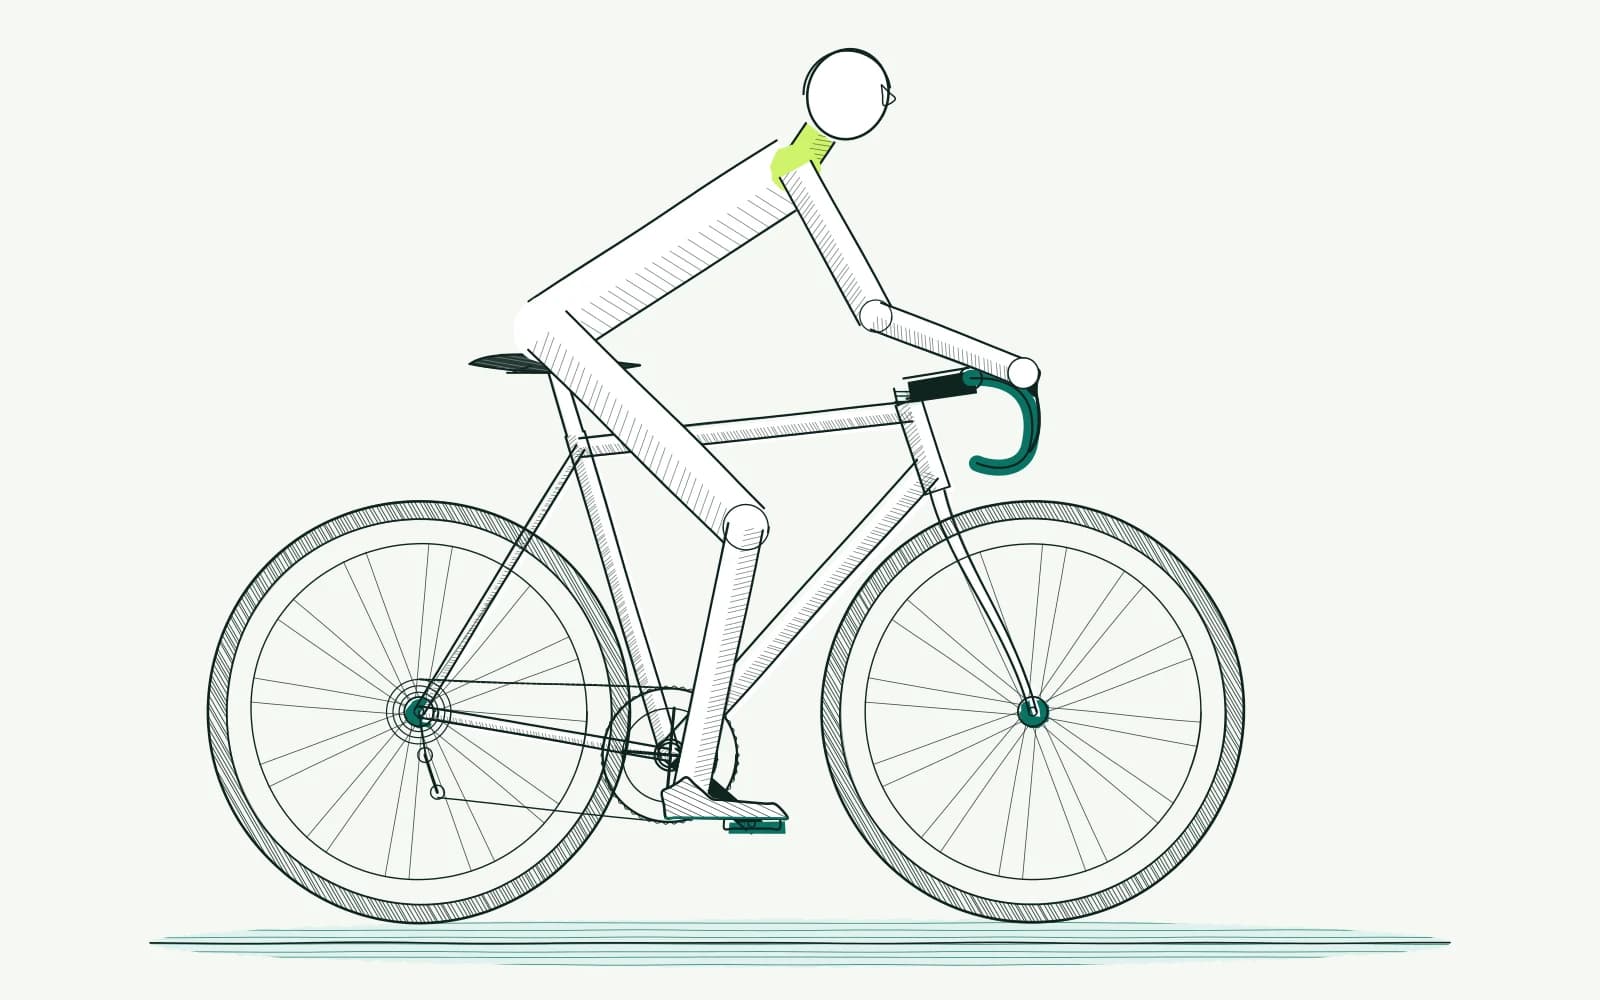
The problem: neck pain cycling
The opening part of your ride feels comfortable. Later your shoulders rise and you keep changing hand position. Perhaps the tension sits where your neck meets your shoulder. Or you have to tilt your head far back to see the road ahead.
Record when it starts and where you feel it. Separate local tiredness from sharp pain or tingling down an arm. Note whether it affects the left side, right side or both. This gives you more useful information than simply saying the bike feels too long.
Compare an easy ride with a faster group outing. Wind, fatigue and tension can change your posture without any adjustment to the bike. A helmet or glasses frame can also obstruct your view. Symptoms that remain after dismounting need consideration beyond bike settings.
Background
Your neck connects your torso to your view of the road. As your torso moves lower, your head often turns further upward. More handlebar drop can therefore feel acceptable to your legs but demanding for your neck. A low position is not a goal in itself.
A long distance to the brake hoods may straighten your elbows. Your shoulders then move forward or upward to reach the bars. A cramped position can also feel uncomfortable. Stem length alone cannot establish whether the complete position suits you or explains a particular symptom.
Your saddle establishes the starting point of your pelvis. Sliding forward repeatedly changes the distance to the bars as well. Do not move the saddle forward simply to treat neck discomfort. You also change pelvic support and your relationship to the pedals when you do this.
Load away from cycling matters too. Consider long periods at a screen, poor recovery or a sudden increase in ride length. An online calculation cannot observe your movement when tired. A photograph also captures one moment, rather than identifying a medical cause.
The NHS guidance on neck pain identifies tingling and a cold arm as reasons to seek help. Do not ride if restricted neck movement prevents safe observation of traffic. Changing a stem does not replace assessment of those symptoms.
How to approach it
-
Record your starting position. Take a side photograph while sitting normally on the brake hoods. Measure saddle and handlebar height from the same level floor with a tape measure.
Record the horizontal distance to your usual hand position too. Keep the photograph and measurements together so an adjustment remains reversible.
-
Check your view first. Wear your helmet and glasses as you would on a ride. Look ahead without deliberately lifting your chin.
Check whether a rim obstructs your view. Turn your head gently in both directions while safely stationary. Do not force movement just to tolerate a lower riding position.
-
Find relaxed support. Let your elbows bend slightly and keep your shoulders loose. Your hands must still hold the brake hoods securely.
Compare this with your normal posture. If you repeatedly slide forward, examine saddle support too. Reduced hand pressure should not mean losing the support needed to steer and brake.
-
Choose one small trial. If reaching low is the main difficulty, discuss a higher handlebar position. A 5 mm spacer is a practical trial increment, not a medical threshold.
Move spacers only within the frame, fork and stem instructions. Ask a mechanic if you do not know the clamping sequence or torque requirements.
-
Test two or three easy rides of comparable duration. Record when tension begins and whether you can look around freely. Do not extend a ride simply to prove a doubtful adjustment.
Restore your recorded baseline if symptoms increase or steering control worsens. Only then consider changing a second variable.
-
Use the calculator to prepare a conversation with a fitter. Bring your photographs, settings and ride notes. Stop for sharp pain, weakness or radiating tingling.
Pain at rest, night pain or swelling calls for medical assessment. If symptoms persist after three or four careful adjustments, have your position and physical tolerance assessed.
Further reading
Handlebar drop: find your bar height explains how to measure height without confusing it with the distance to your hands.
Cycling pain: choose your first step helps separate local pressure from symptoms that continue away from the bike.
Saddle setback and tilt adjustment explains how to establish stable support under your pelvis first.
Use the free bike fit calculator to gather your measurements and compare your current settings systematically.
Frequently asked questions
Should I always raise the bars for neck pain?
No. Height is one possible factor alongside reach, your view and riding load. Establish when symptoms start first. Raising the bars may help with prolonged upward looking, but it will not automatically resolve an obstructive helmet or symptoms that occur away from cycling.
Can I move the saddle forward to reduce reach?
Do not use saddle position as the first solution for distant handlebars. Moving it changes support and your relationship to the pedals. Record your saddle position first. Then consider hood position, handlebar shape and stem as a connected system rather than choosing a component in isolation.
Is tension after a long ride always a fit problem?
Fatigue alone does not establish that one measurement is wrong. Compare a shorter, easier ride and consider recent training load. Increasing pain or symptoms appearing progressively earlier are reasons to review your approach. Do not keep riding through discomfort just to become accustomed to it.
Should I see a fitter or a doctor?
A fitter can investigate the relationship between bike settings and movement. A clinician assesses symptoms needing medical attention, including pain at rest, swelling, weakness or radiating tingling. You may need both forms of help. Online measurement advice cannot replace an assessment of these warning signs.
This guide covers one part of your riding position. Read how bike fitting connects your measurements and bike setup.
Record your current riding position with the free bike fit calculator.
Check my riding position