

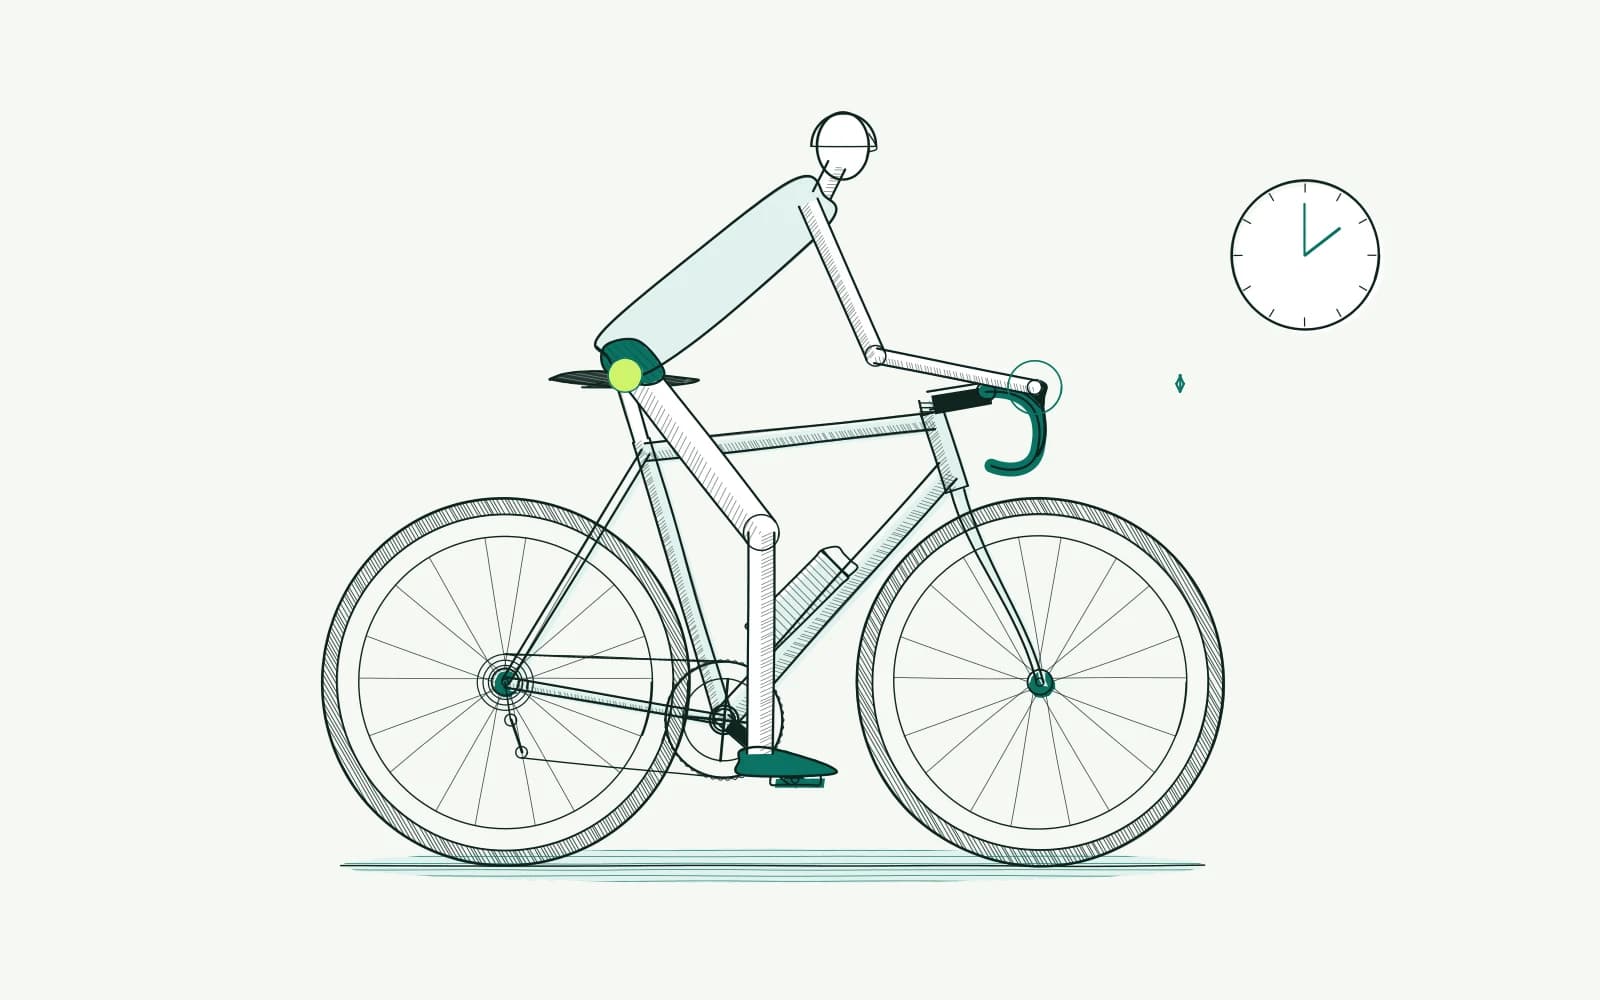
The problem: endurance bike fit
The first kilometres feel good, but later you lean more heavily on your hands. You shift around the saddle or look for another grip. Perhaps each hand position still feels usable on its own. Yet continuing to ride comfortably becomes increasingly difficult as the ride goes on.
A short shop trial does not always reveal that. A comfortable commute cannot tell you everything about a longer outing either. You use the same bike for longer, perhaps with different clothing or luggage. Write down what differs before changing the bike position itself.
Record where discomfort begins and which position you are using then. Does it appear on a long flat stretch or after climbing? Does your posture feel uncomfortable, or do the brakes also become difficult to reach? That distinction helps you choose a focused check.
A long ride is not a test you must finish despite pain. Stop when symptoms or reduced control call for it.
Background: a usable position leaves room to move
A position for long rides depends on the relationship between support and reach. Your seating needs to remain usable while your hands use different positions. The brakes must be accessible from the position in which you ride. Looking only at bar height therefore gives an incomplete picture.
Higher bars may feel different, but they cannot guarantee comfort for everyone. Reach to the hoods and your place on the saddle still count. Change both together and you cannot tell which adjustment made a difference. Measure contact points before you move any components.
The bike's category does not decide whether its position suits you either. An endurance bike can be awkwardly built for your body. Conversely, your current bike may become usable within its permitted settings. Compare the actual position and component options, rather than relying only on the label.
Several circumstances often change on a longer outing. You might wear different shorts, carry luggage or ride harder with a group. Changing your position at the same time makes comparison difficult. Keep these factors as consistent as possible during your first test rides.
An online calculation helps organise your starting measurements. It cannot show how you sit or steer later in a ride. Your own notes provide additional information about that experience. A fitter can then assess how contact points and movement work together, without inferring the cause of symptoms from a single measurement.
How to approach it with bike fitting
-
Describe your usual long ride.
Record route, effort, luggage, clothing and hand positions. Note when the position becomes less comfortable. Describe what still worked well before that point too. Use earlier experiences; you do not need another long ride with symptoms to complete this overview.
-
Save your current measurements.
Place the bike upright on level ground. Use a tape measure and spirit level for saddle height, distance to the hood and bar height difference. Name reference points and take a side photograph. The bike fit calculator helps set body measurements alongside these bike measurements as a starting point.
-
Check support and controls.
Do you stay in the same place when changing hand positions? Can you brake without first sliding forwards? Ask a fitter to observe if your seating keeps changing. Avoid simply moving the saddle forwards to solve a difficult reach to the bars.
-
Choose one small, reversible change.
When bar height needs attention, discuss a permitted increase. A 2–5 mm step is a cautious test example, not a universal measurement or treatment. Have a mechanic check whether your system allows it. Follow manufacturer limits, cable clearance requirements and torque settings, and check the controls before departure.
-
Start with familiar rides.
Compare two to three easy rides wearing the same clothing and using similar effort. Use only safe hand positions with reliable access to the brakes. Record comfort, saddle movement and reach at the beginning and end. Extend ride duration gradually afterwards, only while the position remains comfortable.
-
Assess the whole ride and stop in time.
More comfortable hands do not count as success if seating or control access gets worse. Stop for new symptoms or reduced control and restore the recorded safe starting position. Have uncertain installation checked before riding again. For pain persisting after three to four careful adjustments, seek assessment from a fitter and a clinician where appropriate.
Stop experimenting for pain at rest, night pain, swelling or radiating tingling. Seek earlier medical assessment rather than waiting for your planned long outing. New loss of sensation also needs assessment. Adding kilometres is not a way to get used to those warning signs.
Further reading
- Road bike fit: your three contact points helps you check support at the saddle, hands and pedals together.
- Bike fit limited flexibility explains why your position should suit your current movement capacity.
- What is cycling FTP? helps you understand an effort reference before using it to plan a long ride.
- Cycling climb time: plan your effort helps you include expected climbing duration in preparation for your outing.
- The bike fit calculator offers a starting point for comparison with your own contact points.
Frequently asked questions
Should I immediately sit higher for a long ride?
Not automatically. Start with the position you currently use and record what becomes uncomfortable later. Higher bars change one part of the whole position. Check reach, seating and control access before deciding which adjustment you want to compare on your own bike during a series of easy rides.
Can I try a new position just before an event?
Allow enough easy comparison rides before relying on the new position. A long outing with a group makes calm assessment harder. If that preparation is missing, seek advice first. Always keep your previous measurements so that returning to the recorded safe position remains mechanically possible if needed.
Will different cycling shorts help assess my bike position?
Different shorts change the conditions of your comparison. Initially wear the same well-fitting clothing during a position trial. If you later compare clothing, leave bike measurements unchanged. Record your experience without immediately treating a more comfortable feeling as proof that the position itself is right for you.
How do I know whether an improvement lasts later?
Compare notes from the beginning and end of several familiar rides. Check that braking, looking behind and changing hand positions remain usable too. Extend duration gradually without simultaneously increasing effort. If symptoms return, stop building the distance and discuss your observations with a fitter before trying further changes.
This guide covers one part of your riding position. Read how bike fitting connects your measurements and bike setup.
Record your starting measurements with the calculator and prepare a gentle comparison for your next ride.
Calculate your bike fit